This is the multi-page printable view of this section. Click here to print.
Appendix
- 1: VMC
- 1.1: Flashing the SD Card
- 1.2: System Setup
- 1.3: Installing VMC Software
1 - VMC
The following are some common issues that have been seen in the past.
In the rare instance that things get really bad, you may need to re-flash your jetson. Should this be the case, the next few sections will guide you through this process.
1.1 - Flashing the SD Card
Your Jetson should already have the operating system installed and configured for you. These instructions are provided in case you need to wipe your Jetson and start fresh.
First, you need to download the Jetson’s operating system. The file you want is jetson-nano-jp461-sd-card-image.zip. For reference, this is the latest “Jetson Nano Developer Kit SD Card Image” from Nvidia’s website. This is a large file, so it will take a while.
After the .zip file finishes downloading, extract this file, and plug in your microSD
card.
Windows
To flash the SD card on Windows, we recommend a tool called Rufus. Go to
this page and download the
rufus-<version>.exe file.
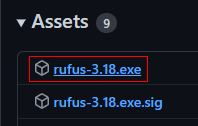
Download this installer file
Go ahead and launch Rufus. When you launch the application, it should look something like this:
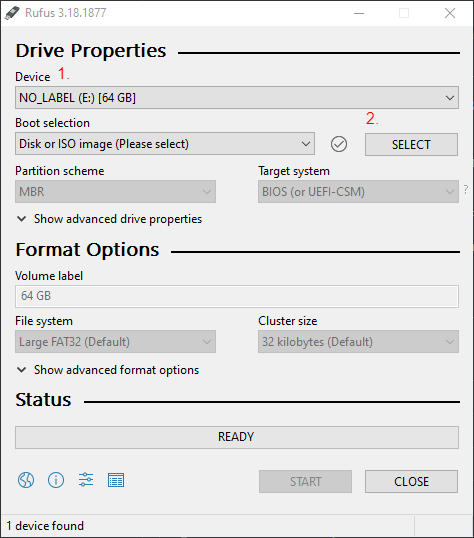
Rufus main window
- Make sure the correct device is selected. If your microSD card is not blank, it will probably have a different label.
- Select the
.imgfile in the folder you extracted.
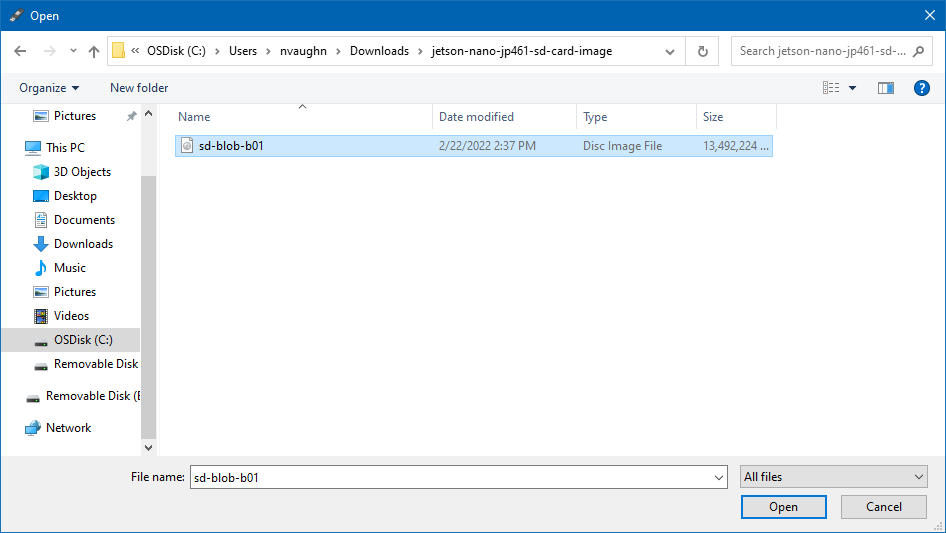
sd-blob-b01.img
You will now be able to click the “START” button in Rufus. Go ahead and click this. You will get a number of warnings that you’re about to format and wipe this microSD card.
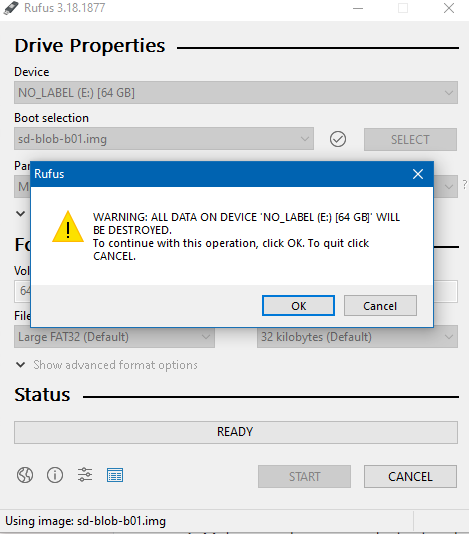
Rufus warnings
Go ahead and click through all of these, you know what you’re doing. Rufus will begin flashing the microSD card and at the end will let you know when it’s finished.
MacOS/Linux
To flash the SD card on MacOS or Linux, we recommend using Balena Etcher. Go to their website and follow the instructions to download and install Balena Etcher.
Go ahead and launch Balena Etcher. Select the .img file in the folder you extracted,
and select your microSD card.
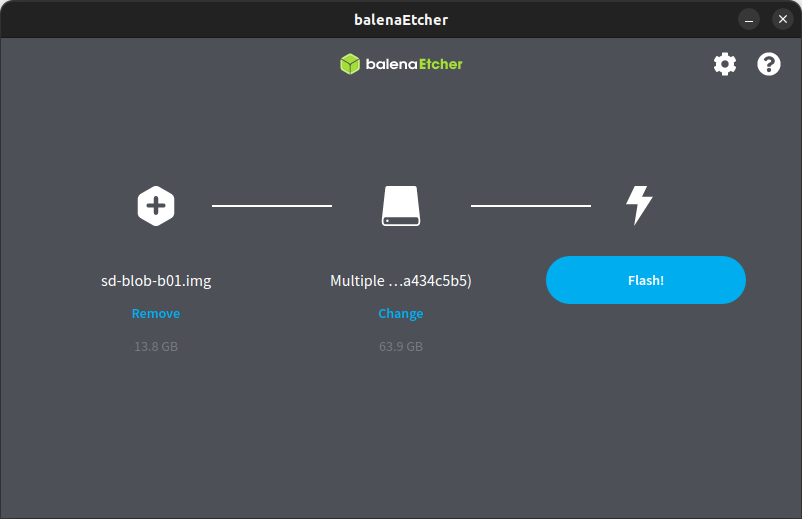
Options selected in Balena Etcher
Once you hit “Flash”, you may be prompted to enter your password for super user privileges.
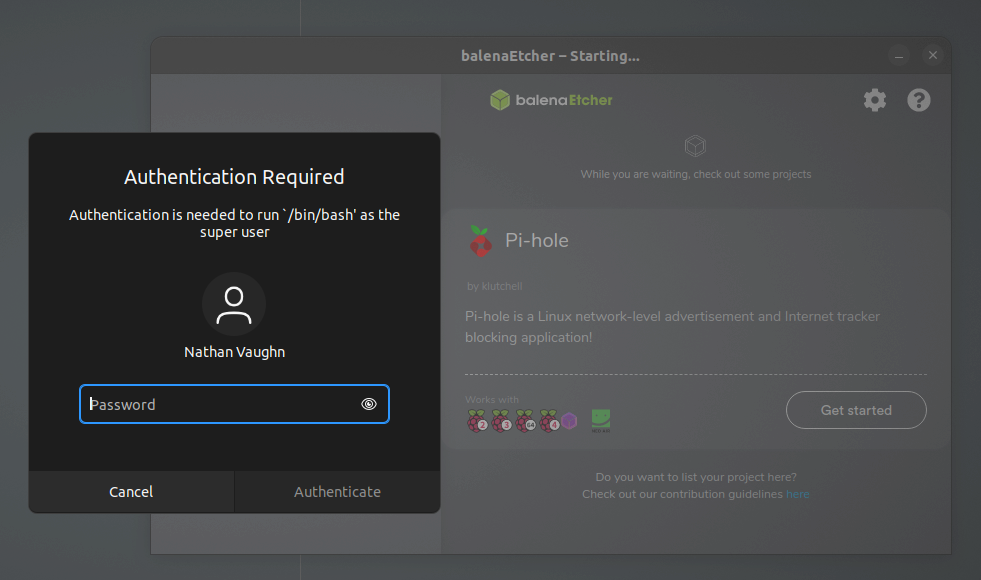
Enter your account credentials
Balena Etcher will begin flashing the microSD card and at the end will let you know when it’s finished.
1.2 - System Setup
Your Jetson should already have the operating system installed and configured for you. These instructions are provided in case you need to wipe your Jetson and start fresh.
Initial Setup
Note
If using a serial connection, all the navigation here on out will be done via your keyboard. Use the arrow keys and Tab to move the cursor, and Enter to confirm options.
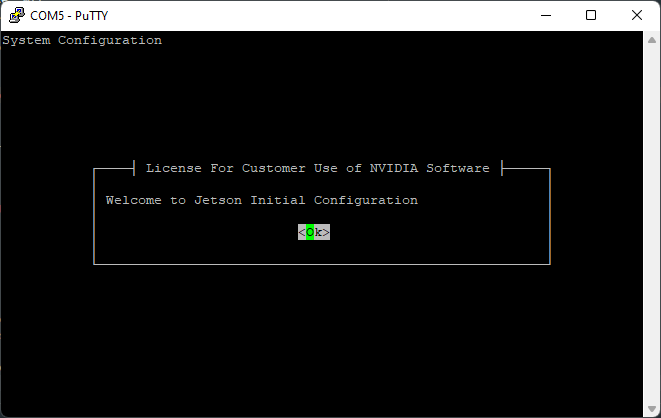
Select “Ok”
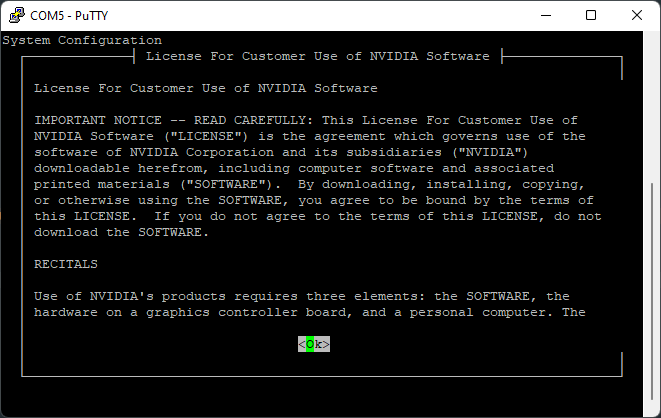
Scroll through agreement and select “Ok”
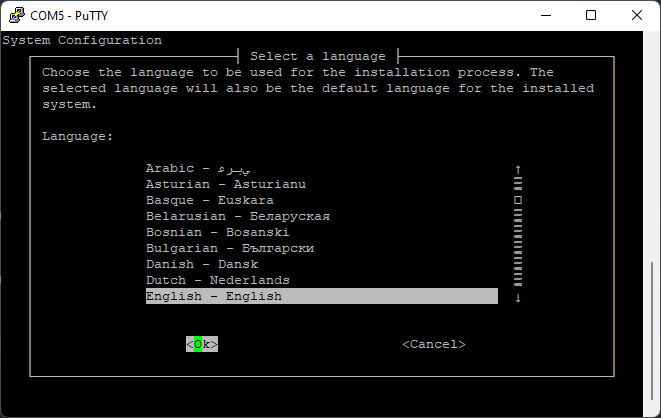
Select your language
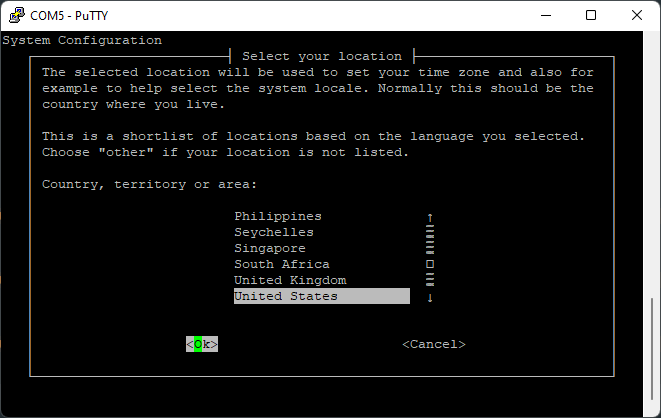
Select your country
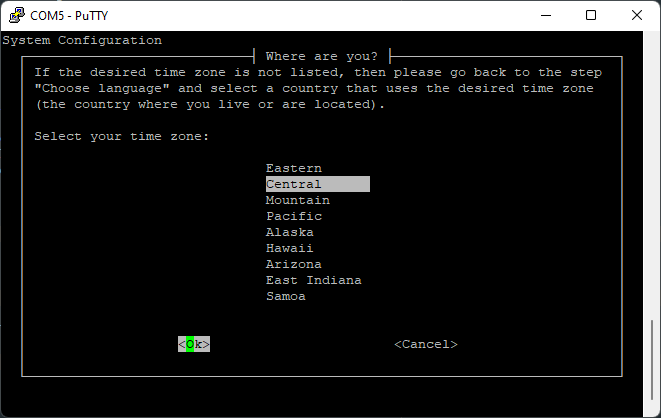
Select your timezone

Allow clock to be set to UTC
Creating your account
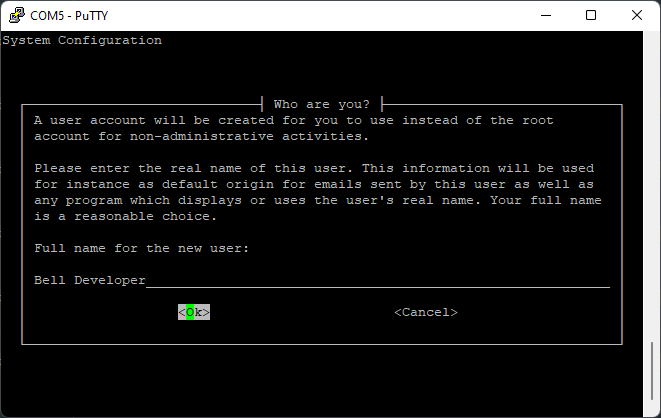
Enter a name, such as your school’s name
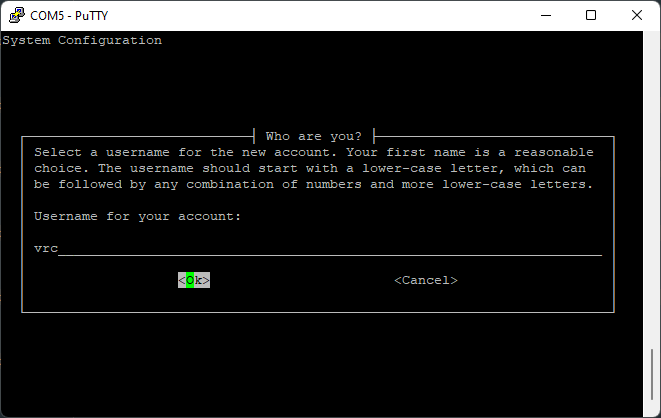
Choose a username, such as “avr”
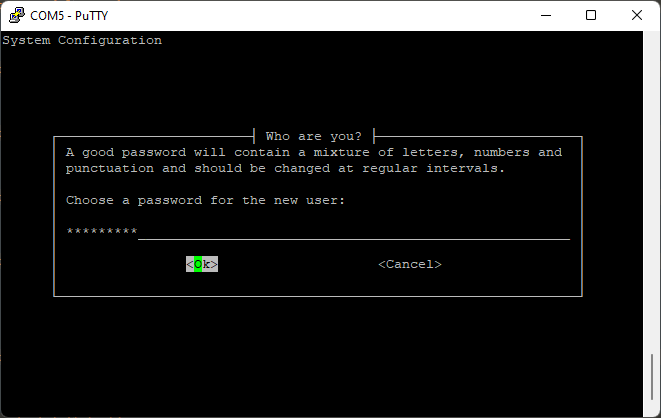
Choose a password

Retype your chosen password
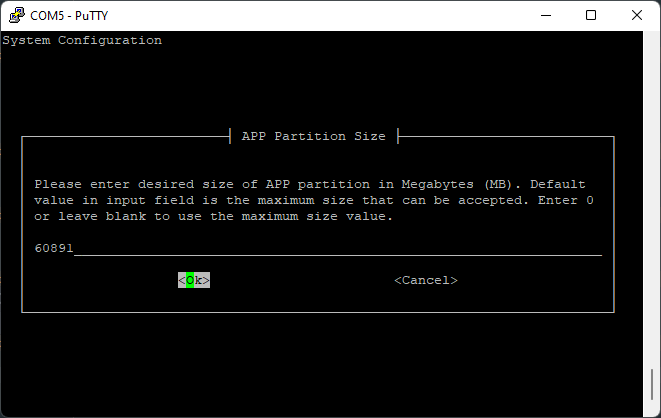
When asked about resizing the partition, leave the default.
Network Configuration
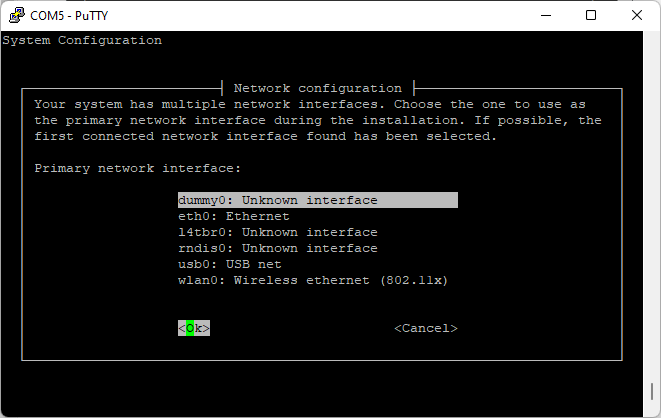
Setting up a network connection is not needed at this time. To bypass this, select “dummy0” and let the auto-configuration fail.
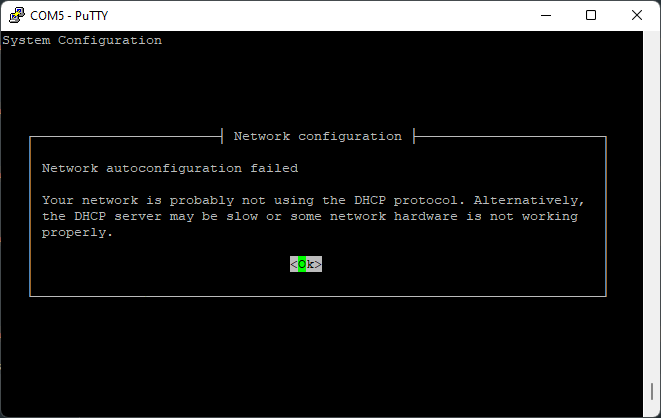
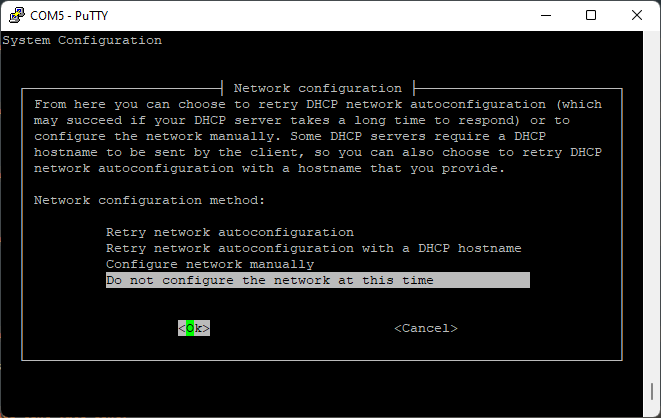
Go ahead and select “Do not configure the network at this time”.
Final Setup
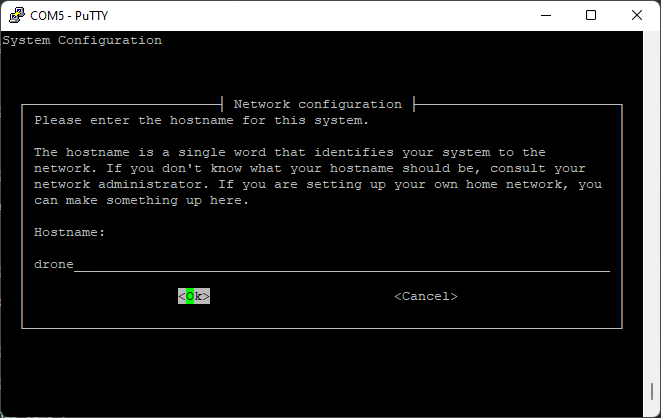
Select an appropriate hostname for your Jetson. “drone” is a good choice.
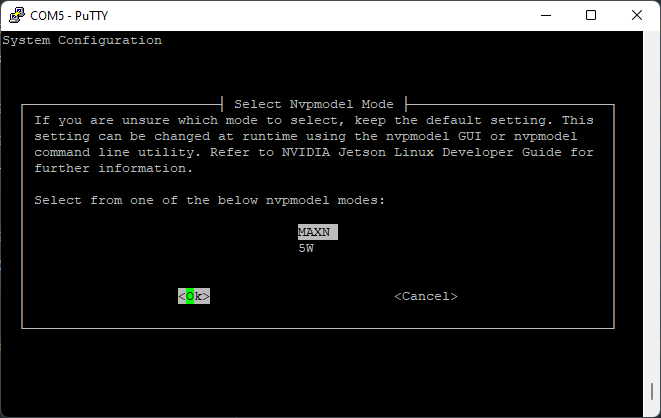
Choose the “MAXN” power mode.
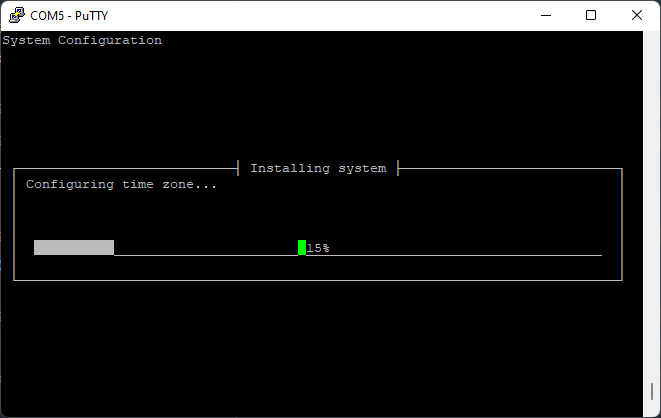
Let the installation finish. Once it’s done, reboot your Jetson.
1.3 - Installing VMC Software
Internet
To install the AVR software, your Jetson needs to have an internet connection. The easiest way by far is if you have ethernet available. If so, just plug an ethernet cable into your Jetson and you should be good to go.
If you don’t have ethernet, you can use a WiFi connection. First, you can list the available networks with:
nmcli device wifi list
Example:
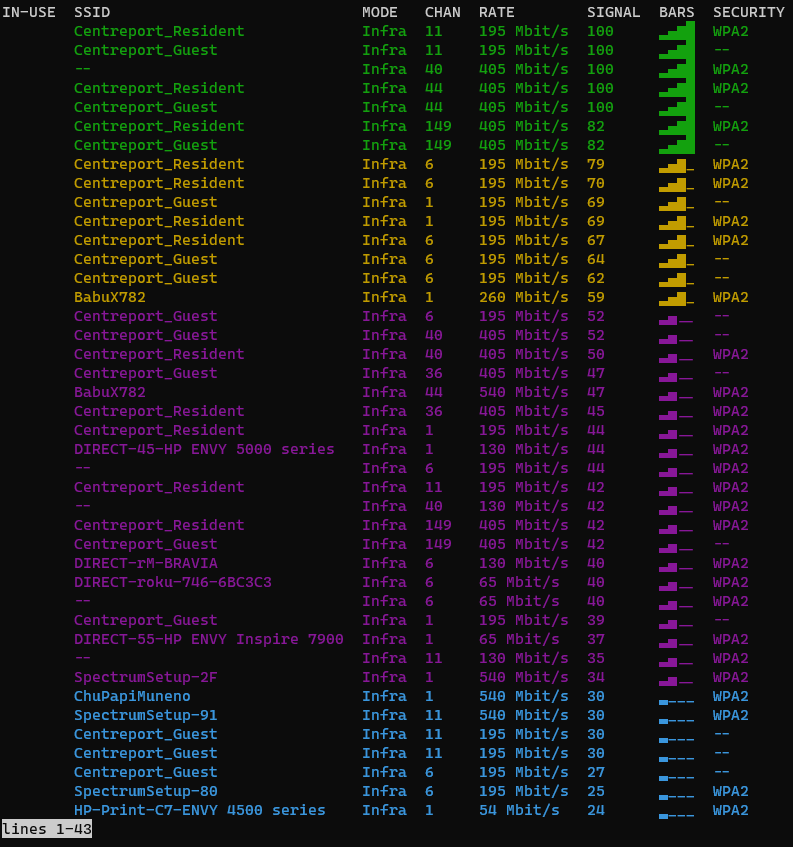
WiFi network list
Hit q to exit the list.
If the Jetson is already connected to a WiFi network, you can disconnect it with:
sudo nmcli device disconnect wlan0
To connect to a WiFi network, run:
# with a password
sudo nmcli device wifi connect <network name> password <password>

# without a password
sudo nmcli device wifi connect <network name>
such as:
sudo nmcli device wifi connect "WI do drones FI" password "Antigravity"
If your network name or password has a space or other special characters, you’ll need to wrap it in quotes as shown above.
Install
git clone --recurse-submodules https://github.com/bellflight/AVR-VMC ~/AVR-VMC
cd ~/AVR-VMC/
chmod +x install.py
./install.py
This clones the software repo, changes the directory into the repo you just cloned, makes the setup script executable, and then executes the setup script.
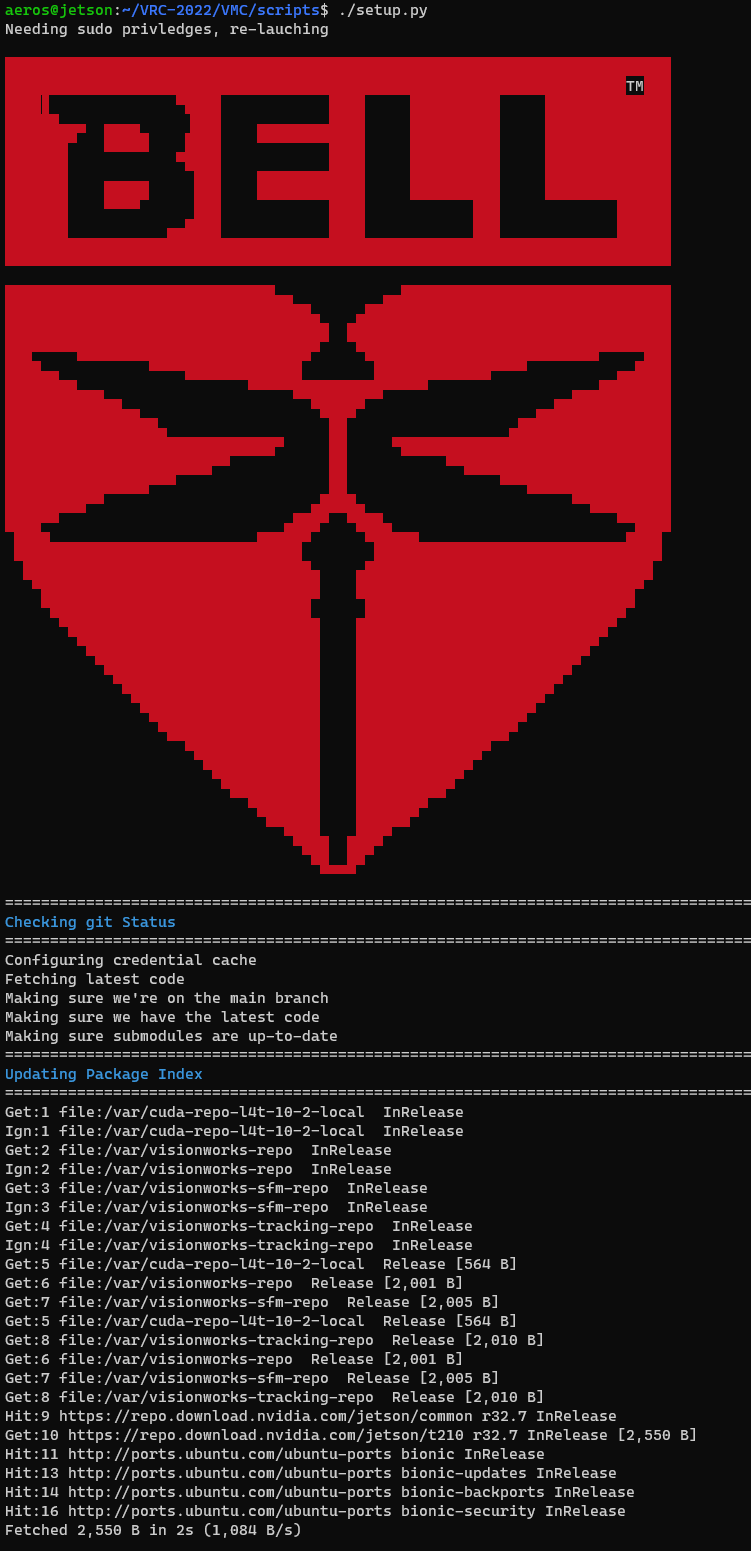
Setup script starting
This setup script will automatically install and configure everything needed on your Jetson to get it ready for competition. This script does do operating system updates, so depending on your internet connection, it may take a while to run.
At the end of the setup script, it will perform a few self-tests to make sure everything is configured properly.
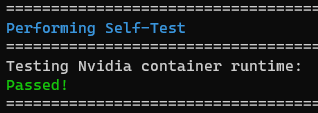
Self-tests passing
Once this is done, please restart your Jetson. Some system settings were changed that require a reboot to take effect.

Reboot prompt
After this, you should be ok to continue on with the setup per the updating per Updating VMC Software