Flash the PCC
3 minute read
Setup
To flash your PCC, you need to download and install a tool called BOSSA first.
Windows/MacOS
Go to this page and download and install
the bossa-x64-<version>.msi file for Windows, or the bossa-<version>.dmg file
for MacOS.
Make sure to install the device drivers that it prompts you to install as well.
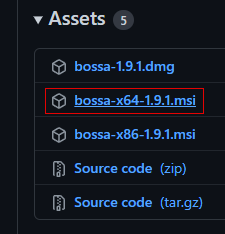
Download this installer file
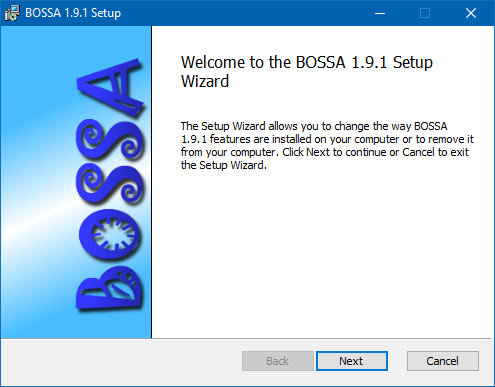
Run through the setup wizard
Linux
For Linux, you’ll need to compile and run BOSSA from source.
git clone https://github.com/shumatech/BOSSA
sudo apt install build-essential libwxgtk3.0-gtk3-dev libreadline-dev
# if libwxgtk3.0-gtk3-dev cannot be found, run `sudo apt-cache search libwxgt*`
# and install the next closest match
cd BOSSA
make -j
./bin/bossa
Flashing
After getting BOSSA installed, you need to also download the PCC firmware that you’ll
be loading. Go to the
AVR release page
and download the pcc_firmware.<version>.bin file.
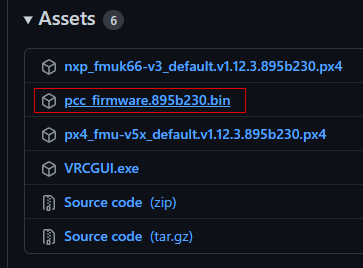
Download this firmware file
Now you’re ready to flash your PCC! Follow the next steps exactly to not run into any issues.
First, plug your PCC into your computer with the provided MicroUSB cable.
Note
Open Device Manager in Windows, and you should see at least one entry under “Ports (COM & LPT)” (if this doesn’t happen, that’s okay, it means the firmware isn’t loaded or corrupted, but we’re about to overwrite it anyways).

Normal PCC COM port
Quickly double-tap the little reset button right next to the MicroUSB connector. The LED next to the button should briefly flash red before turning solid green.
Note
Additionally, the PCC should also now show up as a USB device in Windows titled “FEATHERBOOT”, and the COM port you saw before should now be gone and replaced with one with a different number.

Bootloader PCC COM port
This puts the PCC into bootloader mode so we can flash new firmware.
Open BOSSA and select the COM port that has now shown up from the previous step,
or the serial device ttyACM0. Also select the firmware file you downloaded.
Warning
Forgetting this next step will cause lots of confusing results!In BOSSA, make sure to put in a flash offset of 0x4000 and select “Erase all”.
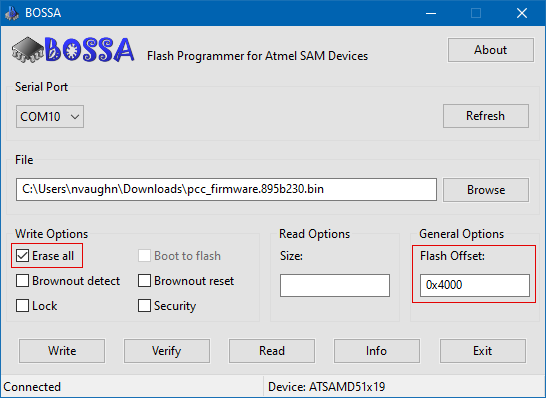
BOSSA settings
Now, you can hit the “Write” button!
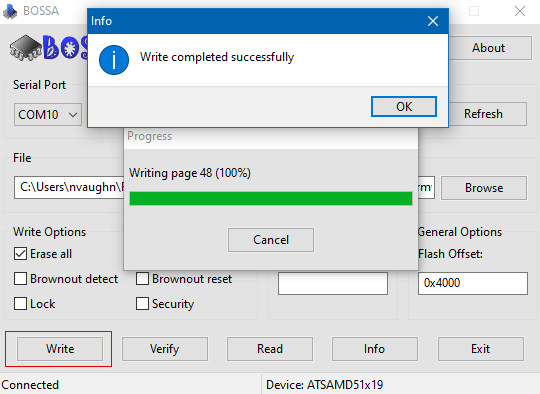
Flashing complete
You can also optionally click the “Verify” button as well just to make sure everything flashed correctly.
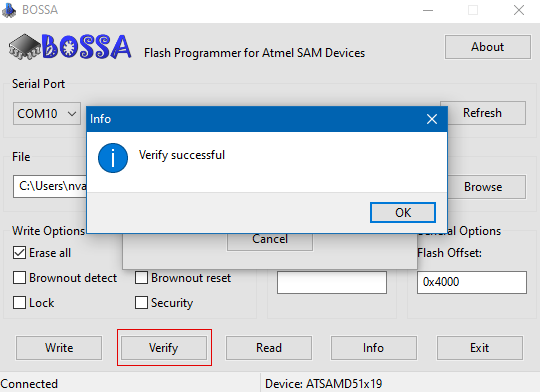
Verificiation complete
Finally, to get the PCC out of bootloader mode, and make sure the firmware is working correctly, unplug the PCC and plug it back in, or press the reset button once. The bright green LED should remain off and the original COM port should show back up in device manager.
Success
You’re now ready to test it out!←Previous Next→