Sensors
4 minute read
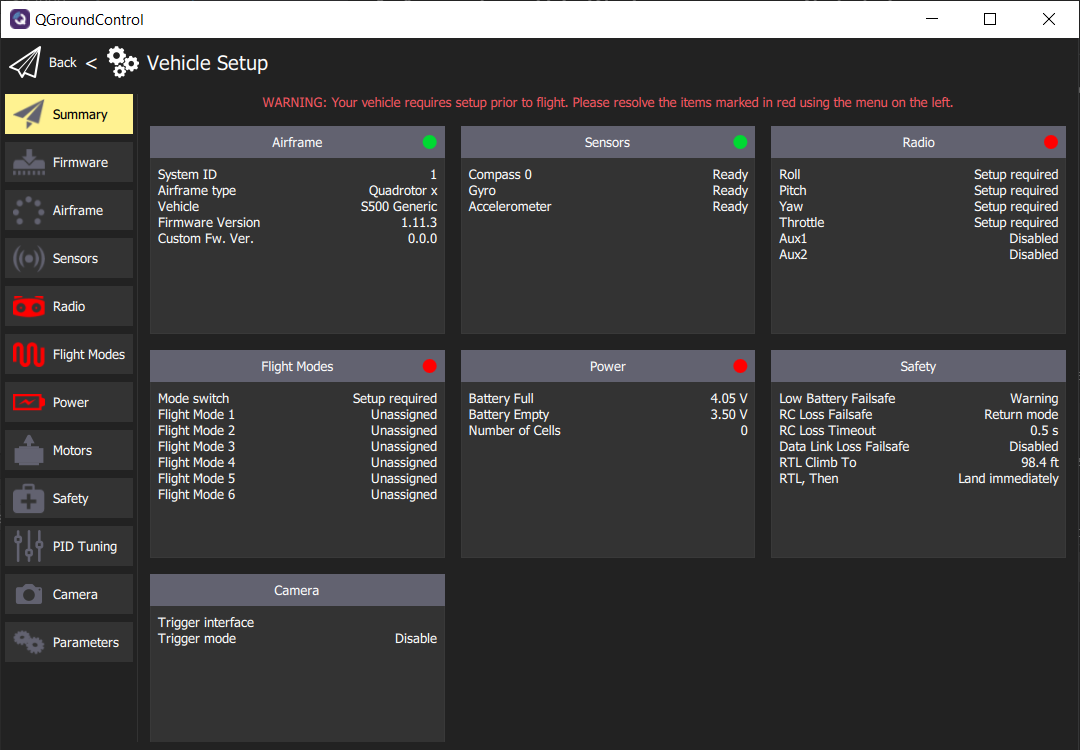
The Sensors screen lists most of the sensors that are available to the FC (internal or external). It allows you to start the calibration process for the listed sensors. This step is very important for stable flights. It is required to do the calibration at least once and should be repeated whenever adding new components to the AVR drone or if flight becomes less stable.
Note
Given advanced assembly of your drone will require additional autonomy components and peripherals, it is a good practice to understand the calibration process in detail.Click on Sensors in the navigation menu and let’s walk through the calibration process for each sensor.
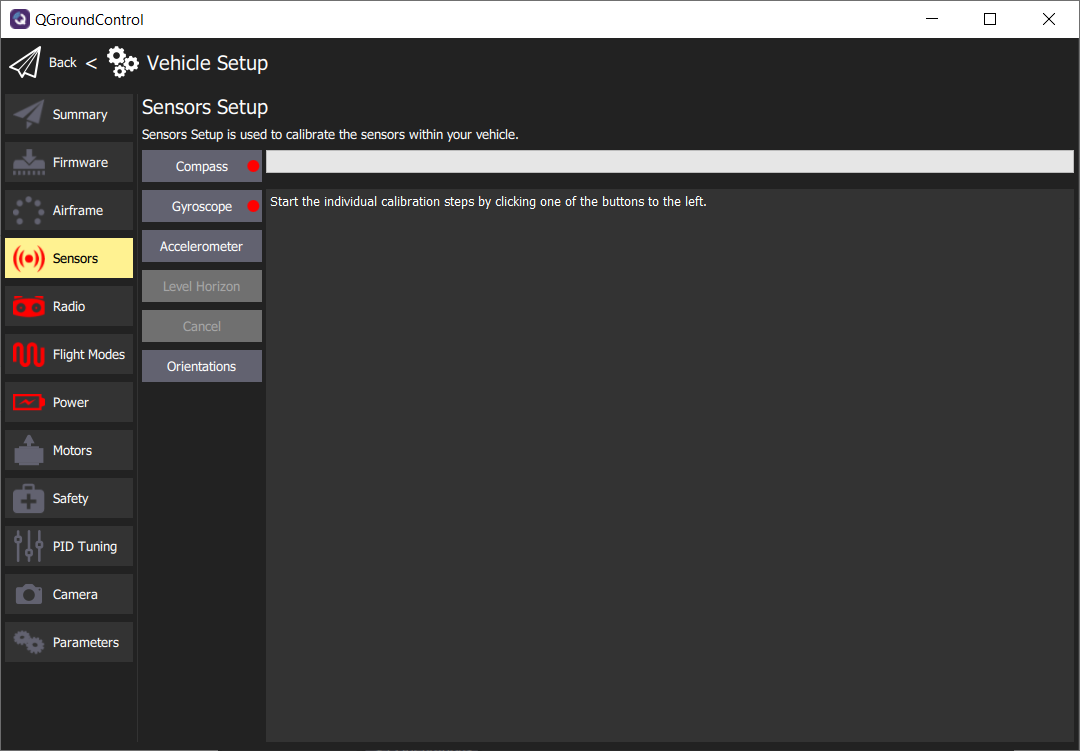
Default Sensors screen
Compass
The compass is important for your AVR drone to maintain proper orientation. Click on the Compass button and you will be asked to begin the calibration process. This process requires you to position the AVR drone in a number of set orientations and rotate the vehicle about the specified axis.
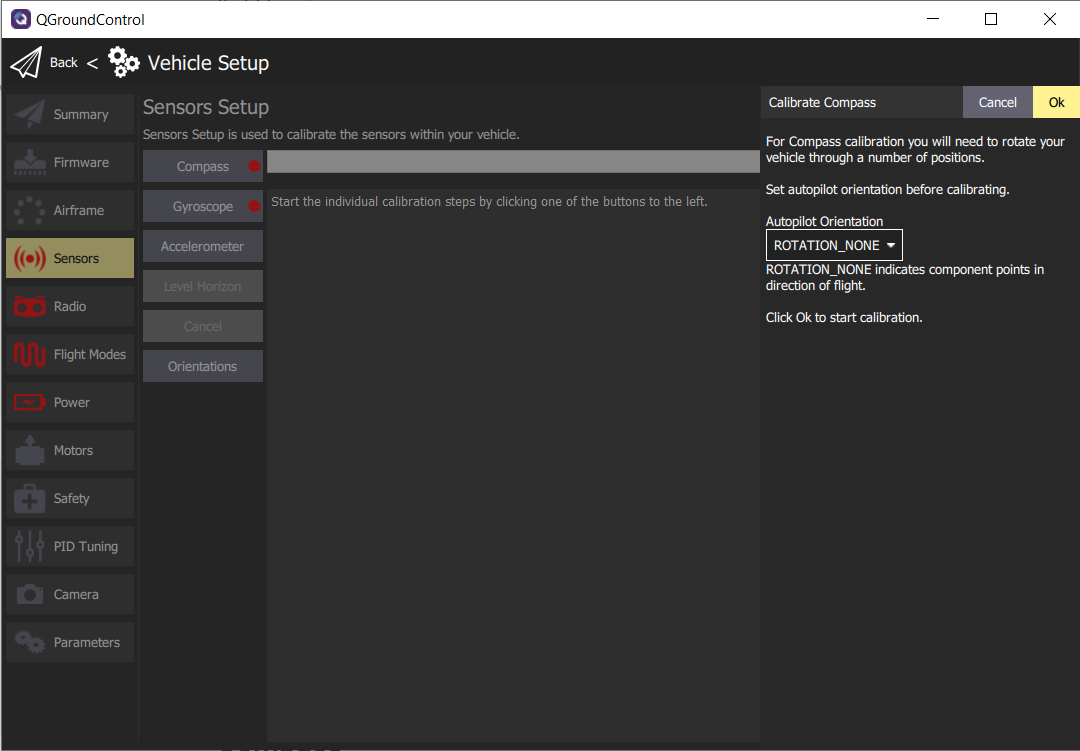
Default compass sensor screen before calibration begins.
Click Ok to proceed with the compass calibration. QGC will automatically recognize the orientation of the AVR drone and provide a yellow highlight as shown in the image below.
Note
Don’t be thrown off by the images of an airplane in the QGC compass calibration process. This still applies to the AVR drone.
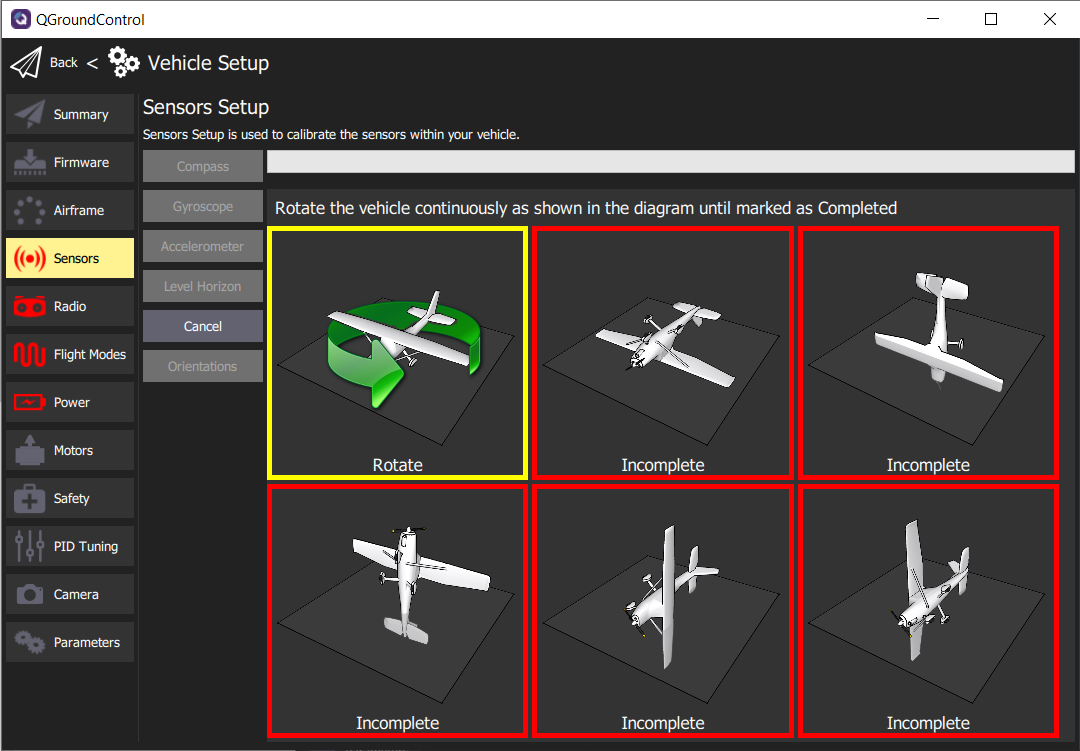
Begin the process of rotating the AVR drone around the highlighted axis.
Tip
You may find it difficult to rotate the AVR drone with USB connected. It is helpful to have someone keep the cable out of the way while another rotates the drone around its designated axis.Once the orientation is highlighted you can begin rotating the drone until the box is highlighted green. This generally requires one 360 degree rotation around the axis. The image below shows three of the six orientations completed.
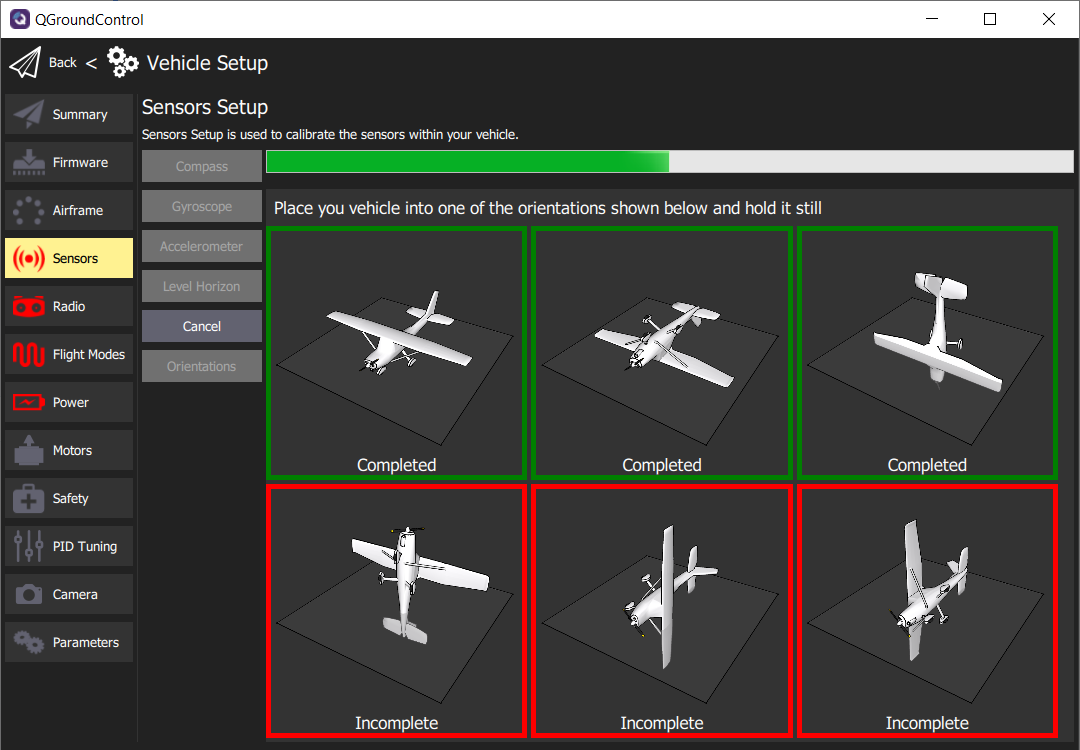
Compass calibration in progress
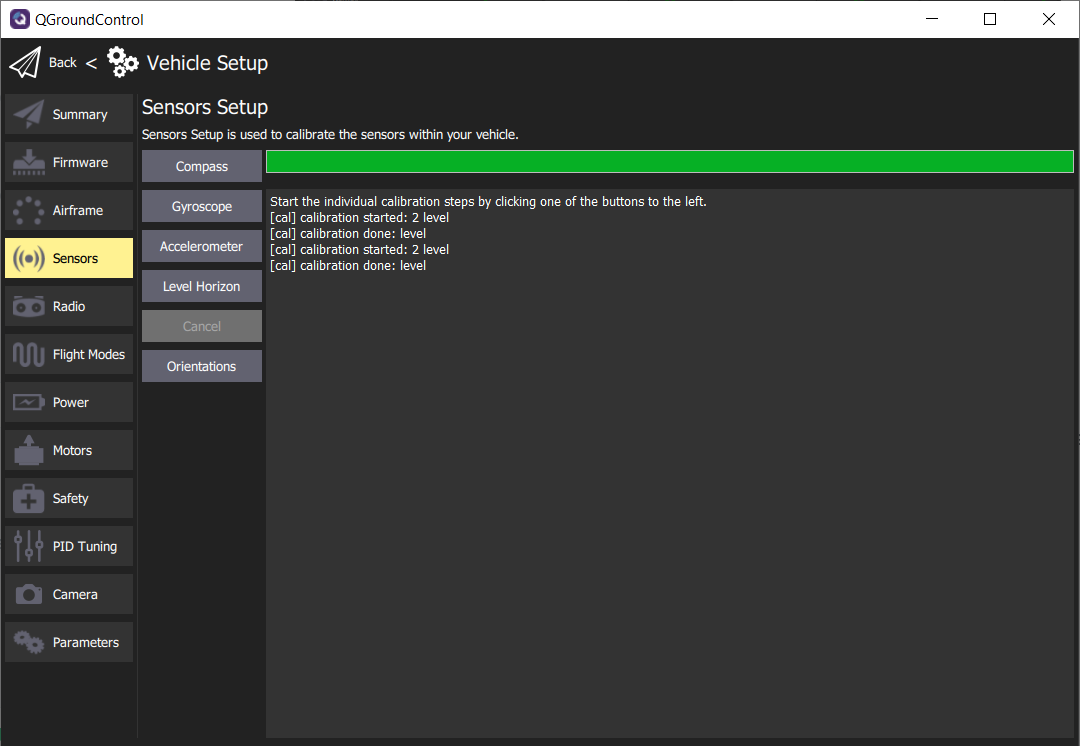
After completing the calibration of all axes click Ok to return to the sensor setup. It is important to reboot your FC prior to flight, but for now we will move on to calibrating the Gyroscope.
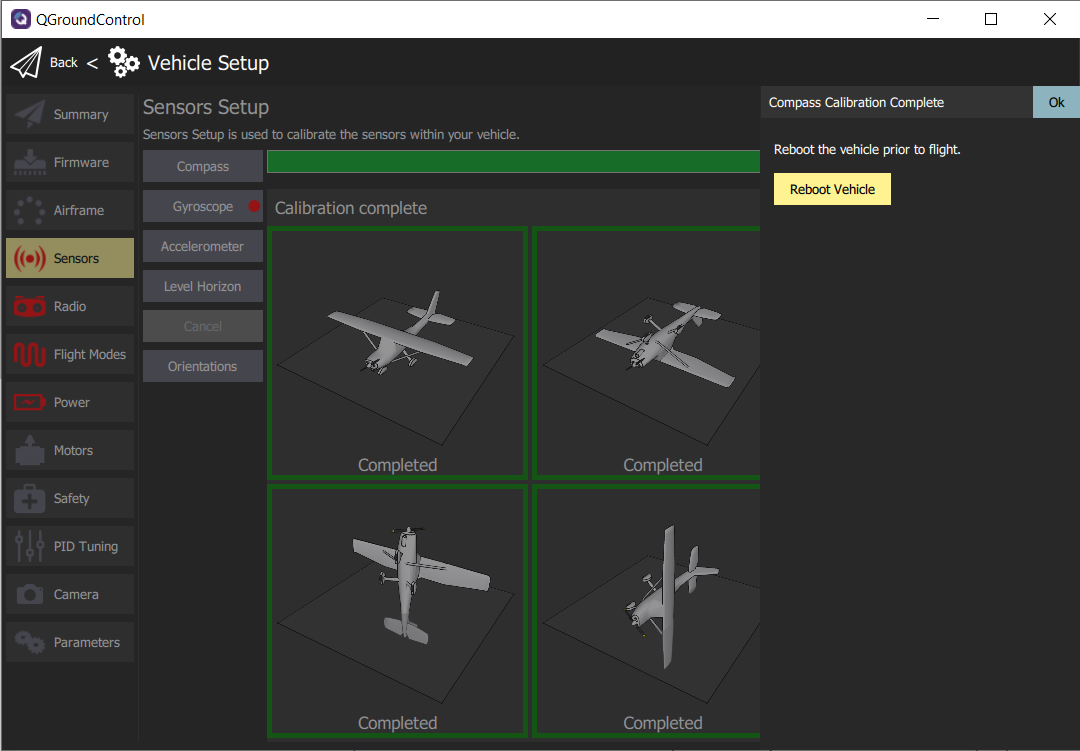
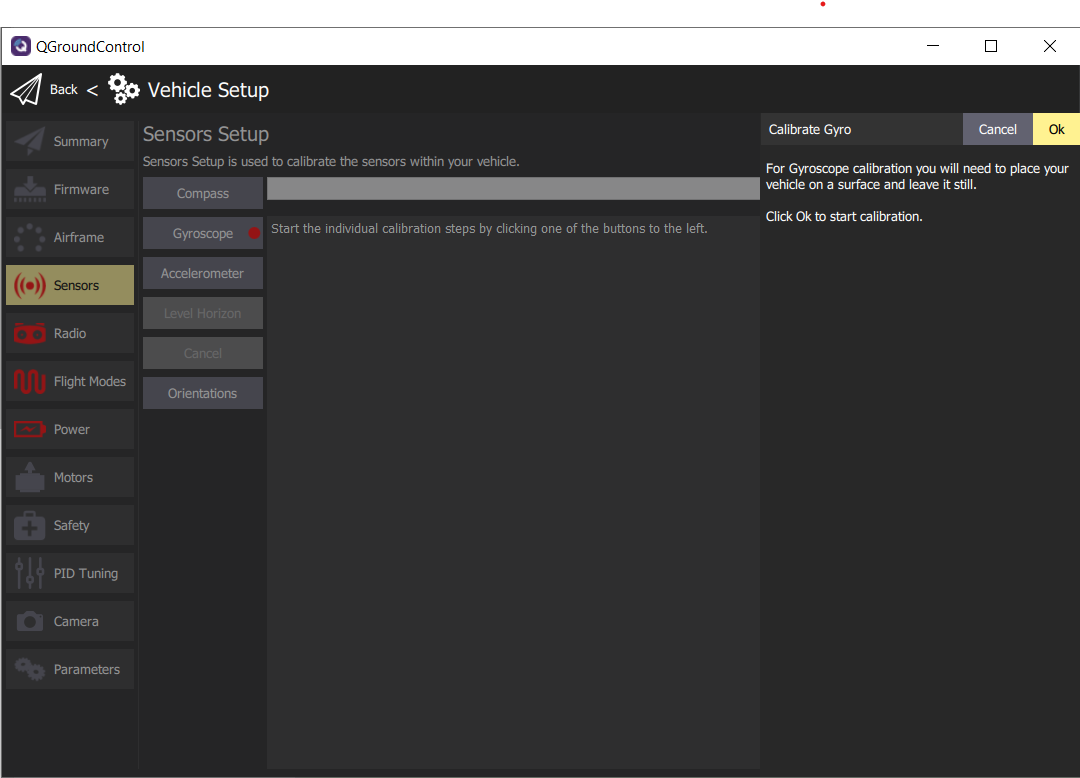
Gyroscope
The gyroscope is an important sensor that will be used to keep your AVR drone level when hovering. Now that the compass calibration is complete you will click on Gyroscope to being the process. This will be much easier than compass calibration! Make sure your AVR drone is on a level surface and click Ok.
After a few seconds, the gyroscope calibration will be complete.
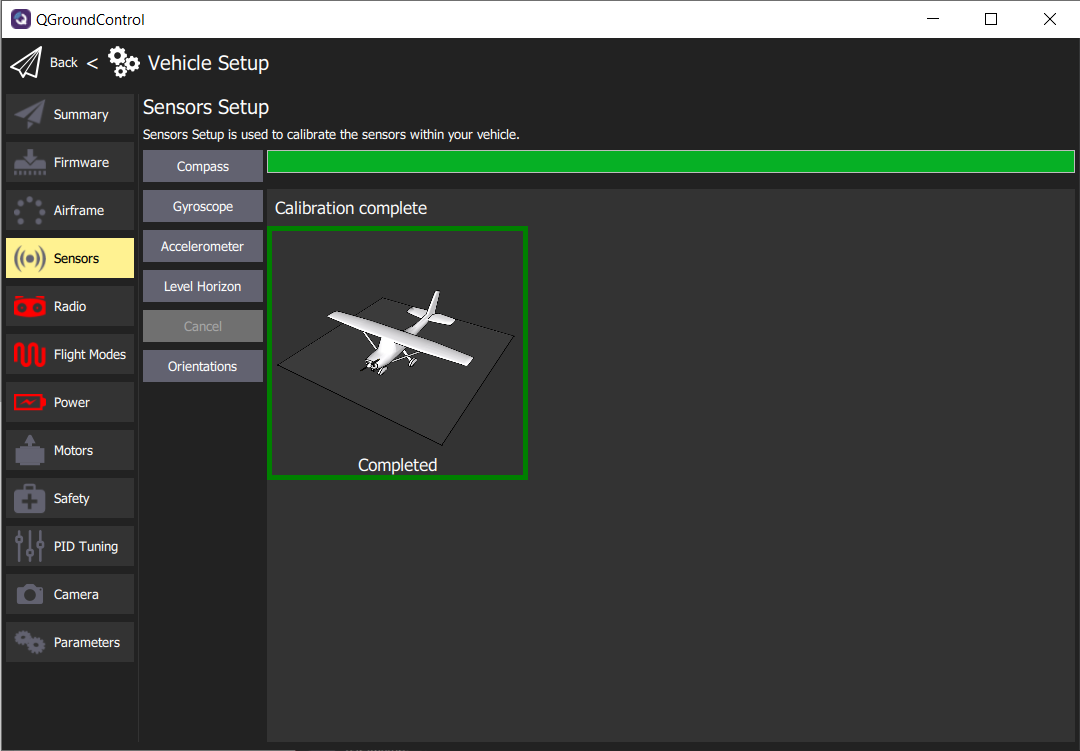
Successful gyroscope calibration
Accelerometer
The accelerometer works in conjunction with the gyroscope to keep your AVR drone level along each axis. Click on Accelerometer and then Ok to begin the calibration process.
This process is fairly similar to compass calibration but does not require you to rotate the drone around each axis. You simply need to hold the drone level in each orientation. QGC will detect the orientation, which is denoted by the yellow border.
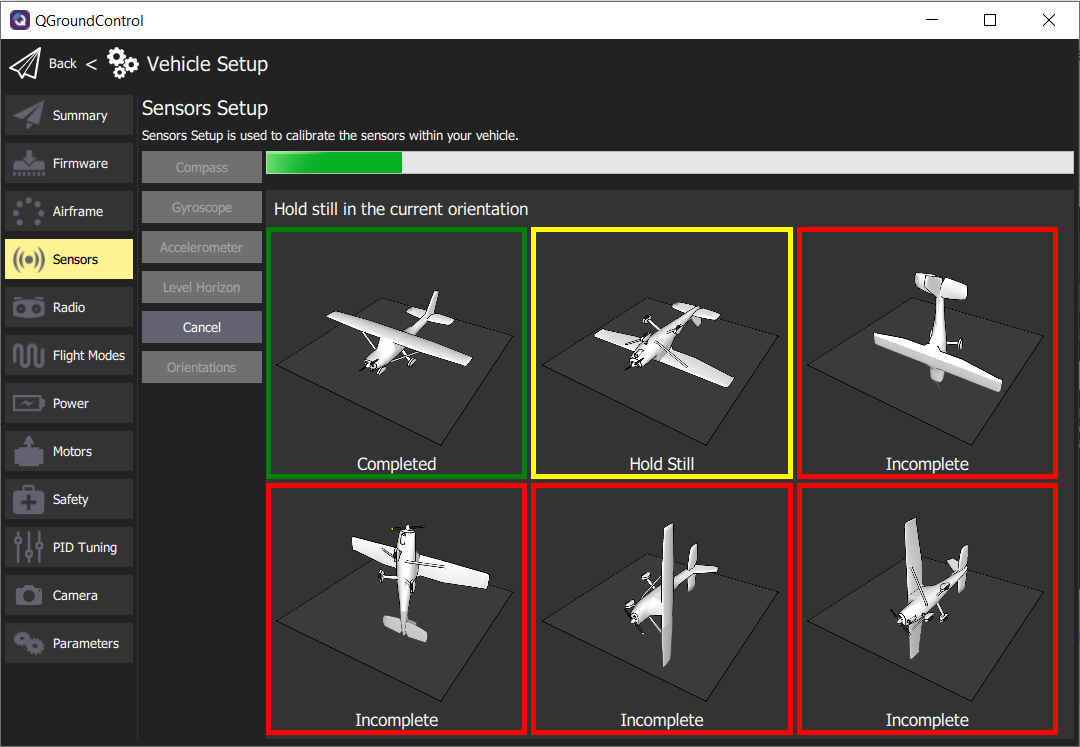
Accelerometer calibration in progress
Hold your AVR drone steady in each orientation for approximately 5-10 seconds. As you complete each axis the border will turn green in QGC.
Accelerometer calibration complete
Level Horizon
Level horizon is a simple calibration to make sure your FC understands the default level position when powered on. Click on the Level Horizon button and then Ok. This process will take more than a couple of seconds to complete.
Level Horizon calibration complete
Orientations
Given we have mounted the FC in its default orientation (facing up and forward) this calibration is unnecessary.
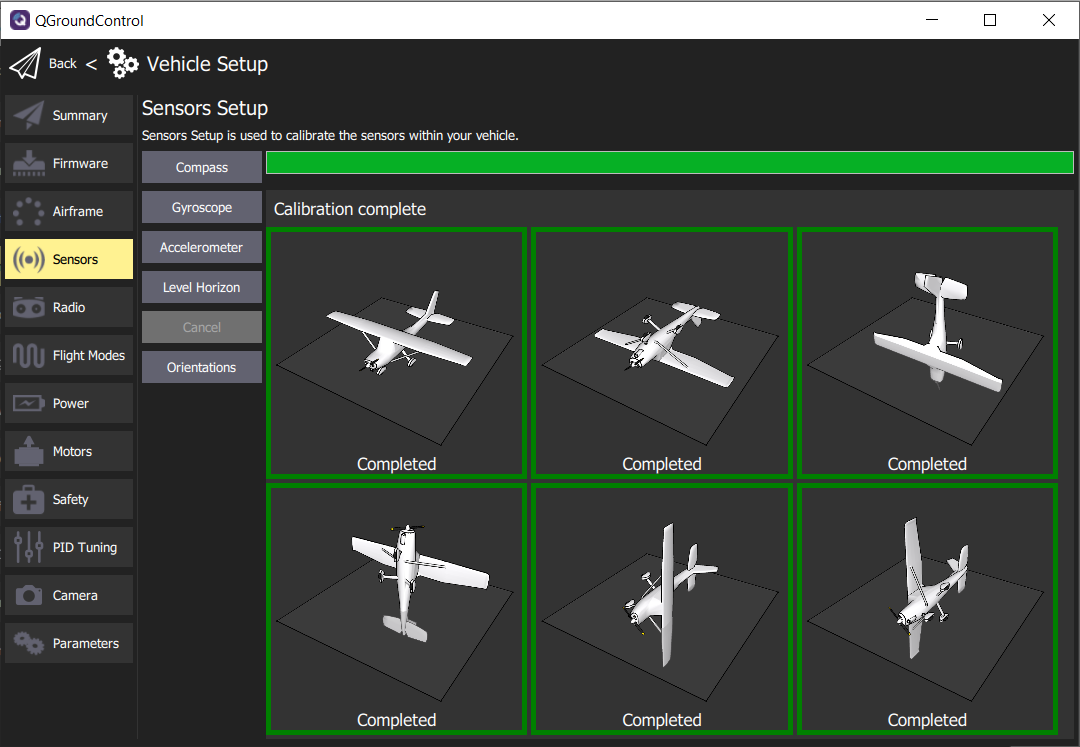
Nice work! You have calibrated the necessary sensors for your AVR drone to be able to know its orientation and keep level during flight. The following Summary screen shows the successful steps completed in green. Now we will move onto setting up the Radio (aka Transmitter).
Summary screen showing all sensors calibrated and ready for flight
←Previous Next→