FC Mounting
2 minute read
FC Mounting
Locate the sheet of 3M double-sided adhesive pads and cut one out. Then cut it in half.
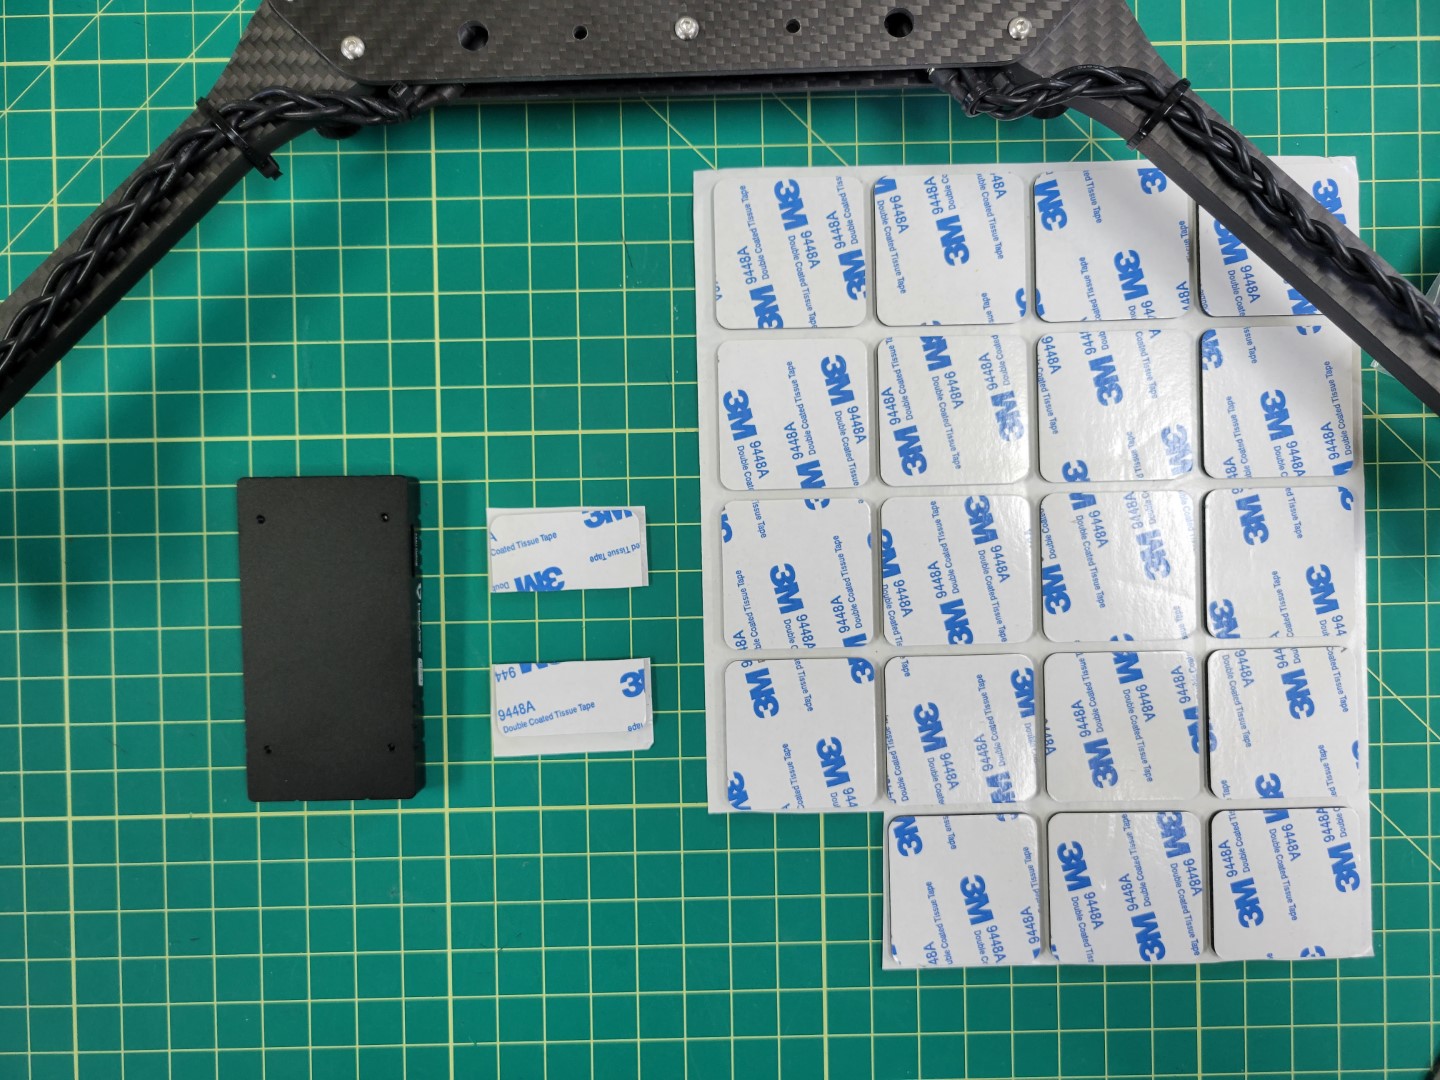
3M double-sided pads
Place each half at the front and back of the Pixhawk FC.
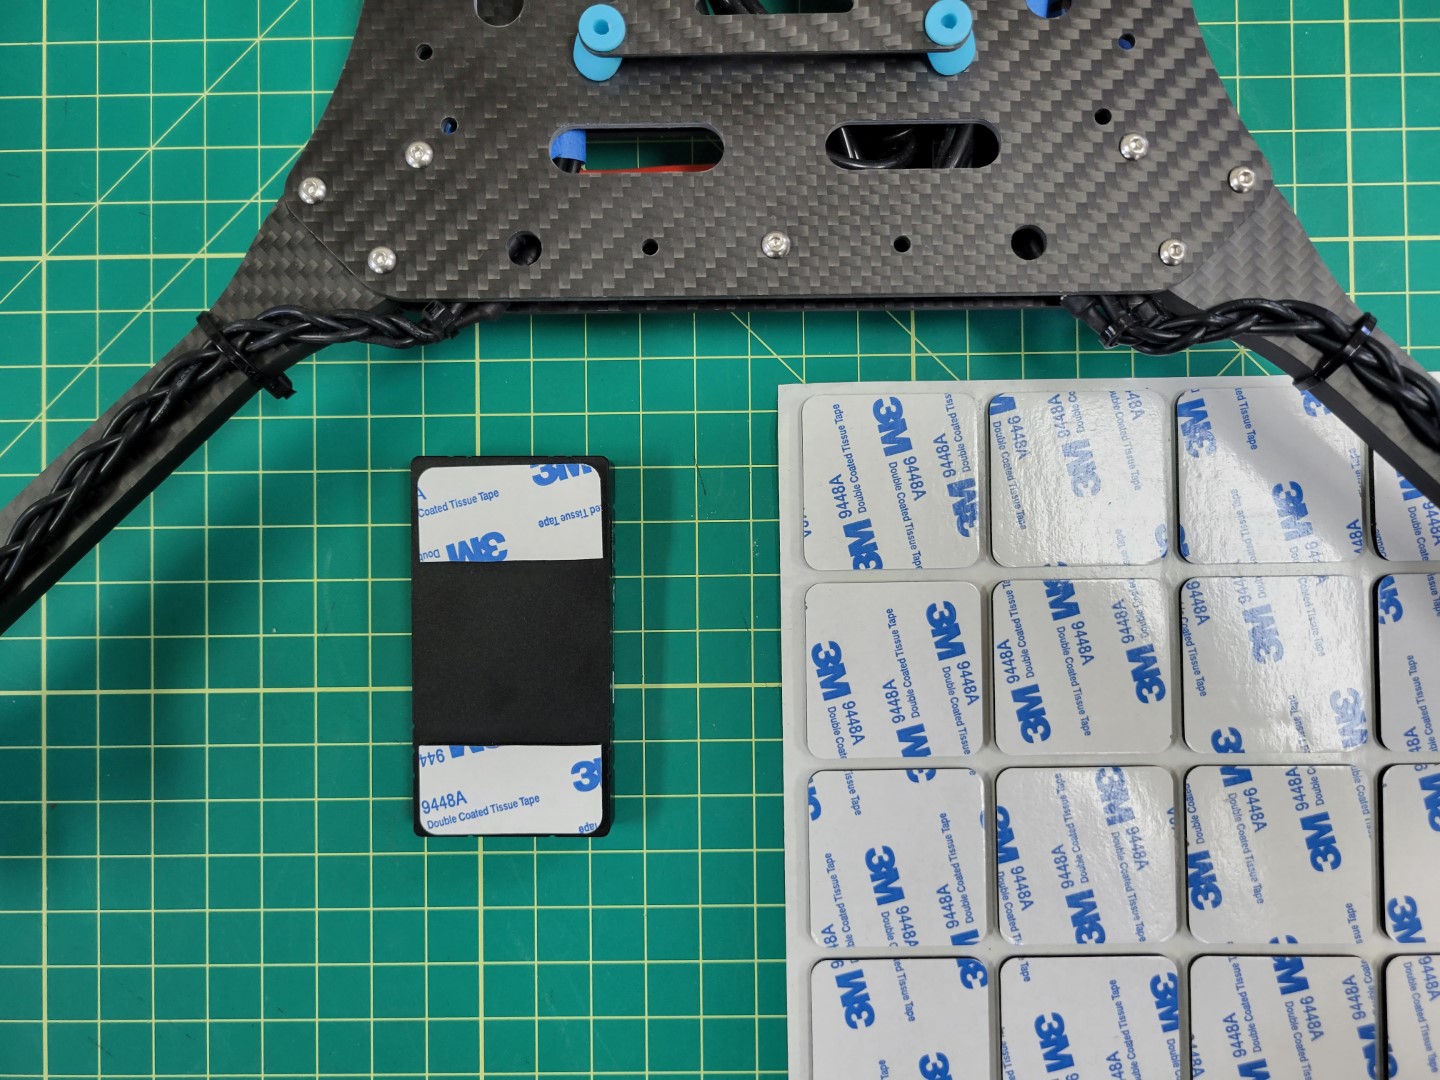
Pad applied to Pixhawk FC
Center the FC over the top tray and press it firmly into place.
Warning
Double check that the arrow on your FC is pointed forward towards motors M1 and M3.
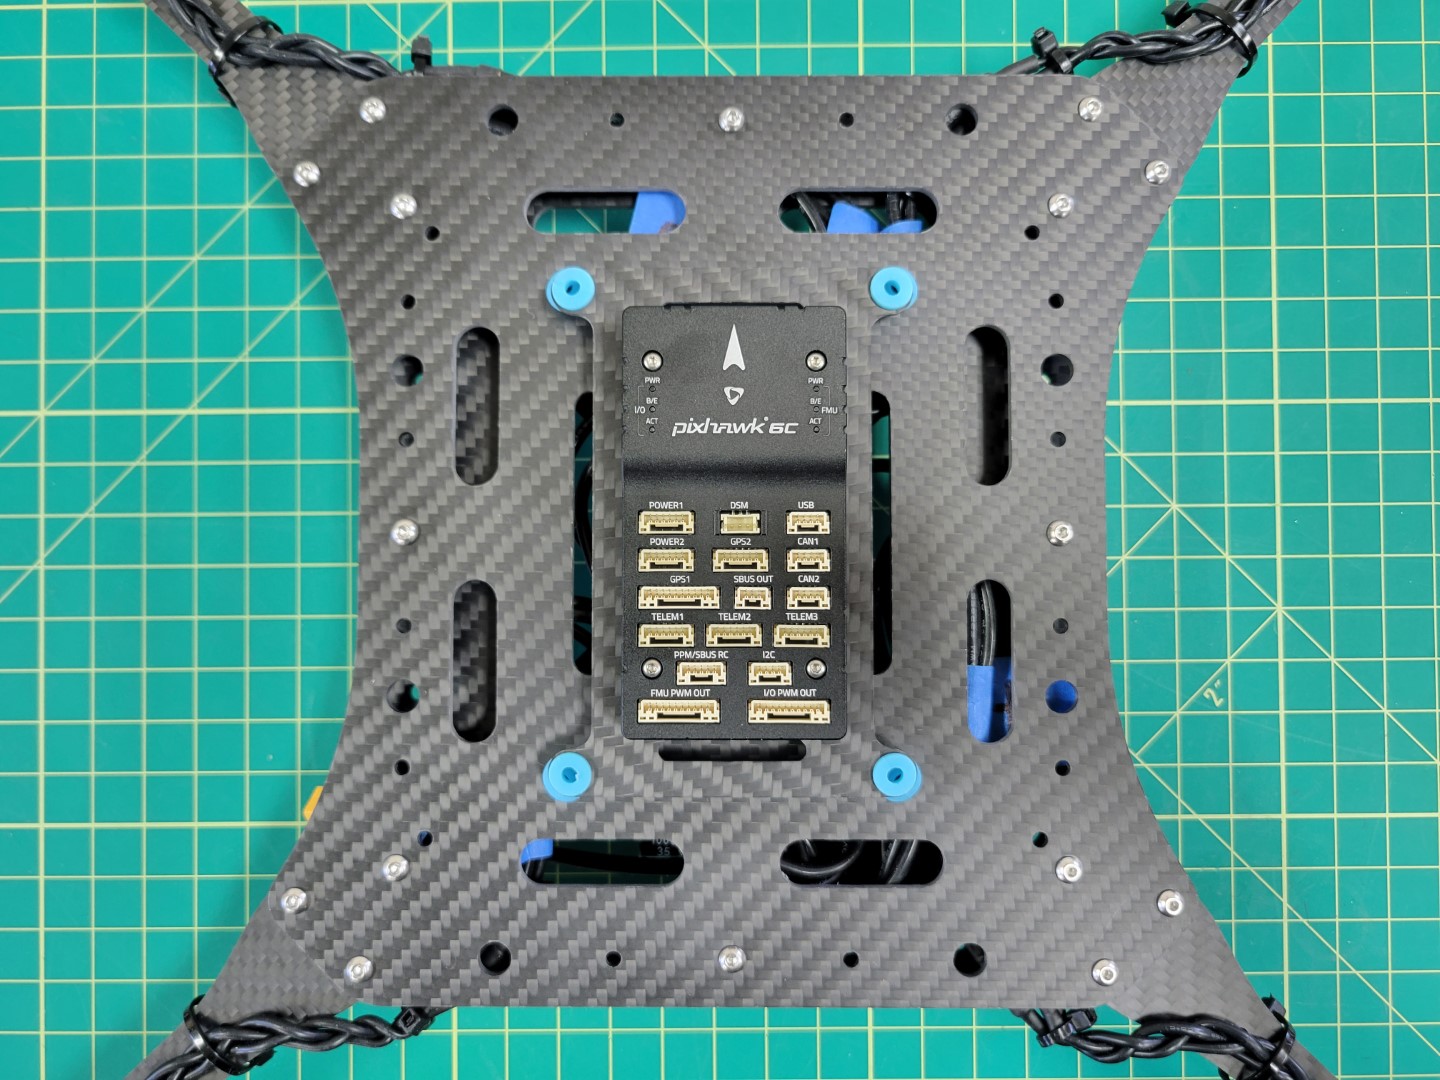
Pixhawk mounted to top tray
PWM Module Mounting
Let’s connect the cable we previously created to the ESC beneath the frame. You can see in the photo below that we’ve zip tied it to the mid bottom plate to keep it in place. Feed the other end of the cable to the top of the frame.
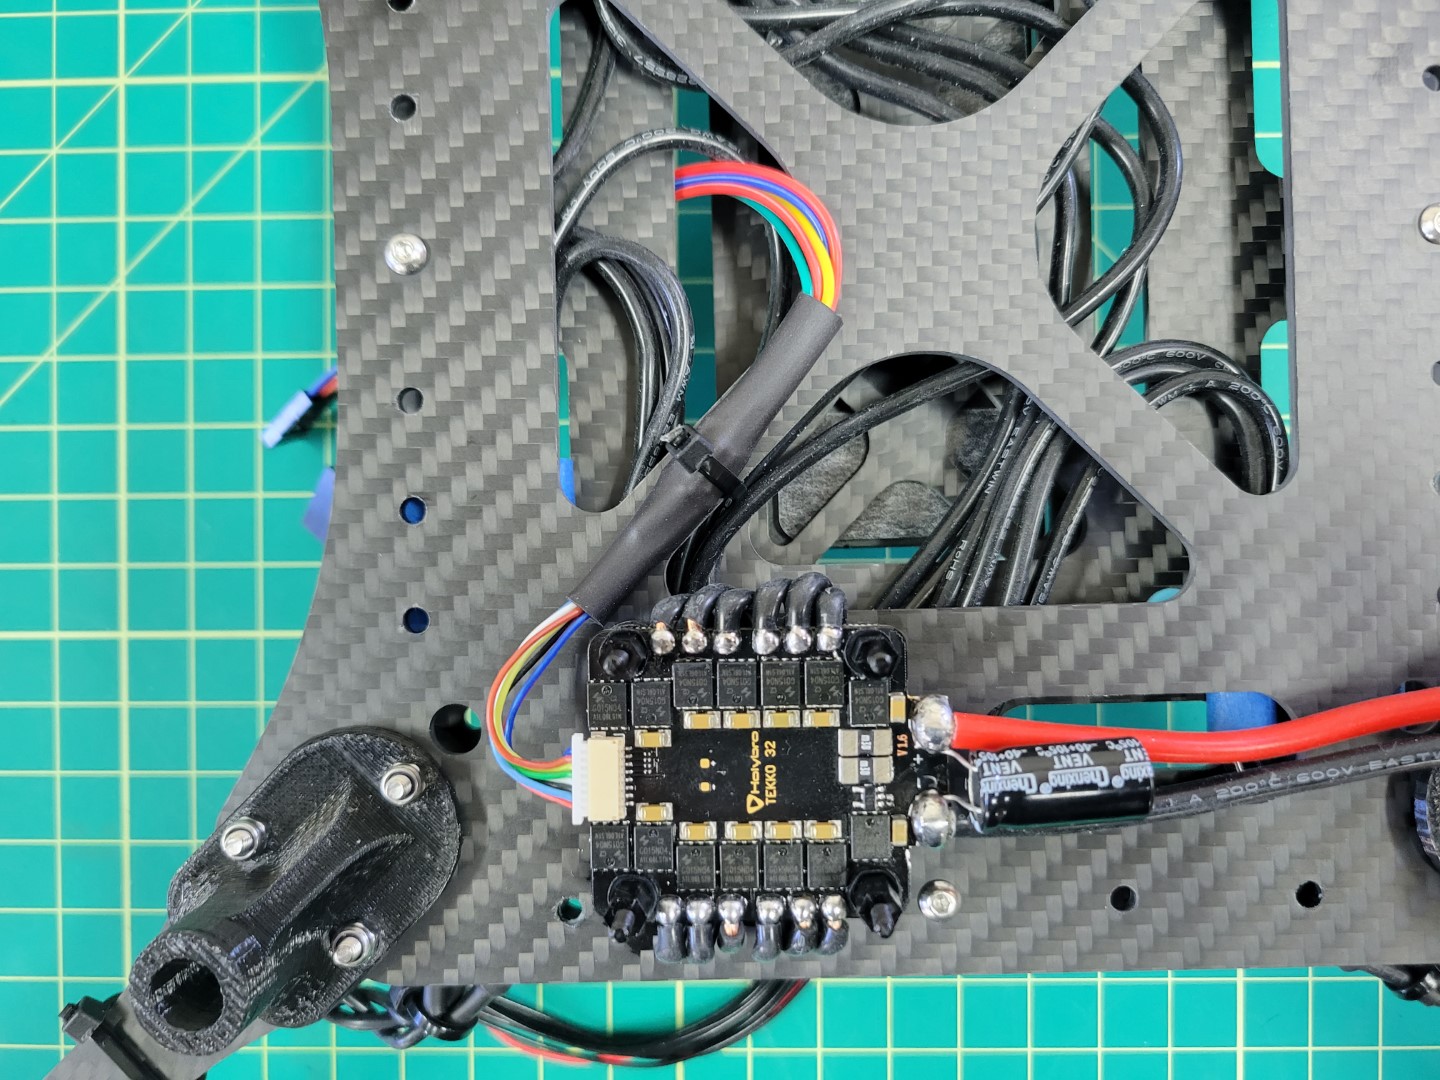
ESC/PWM cable secured to frame
Cut out a small piece of 3M tape and secure your PWM module to the frame as shown in the photo below. Wire up your connections.
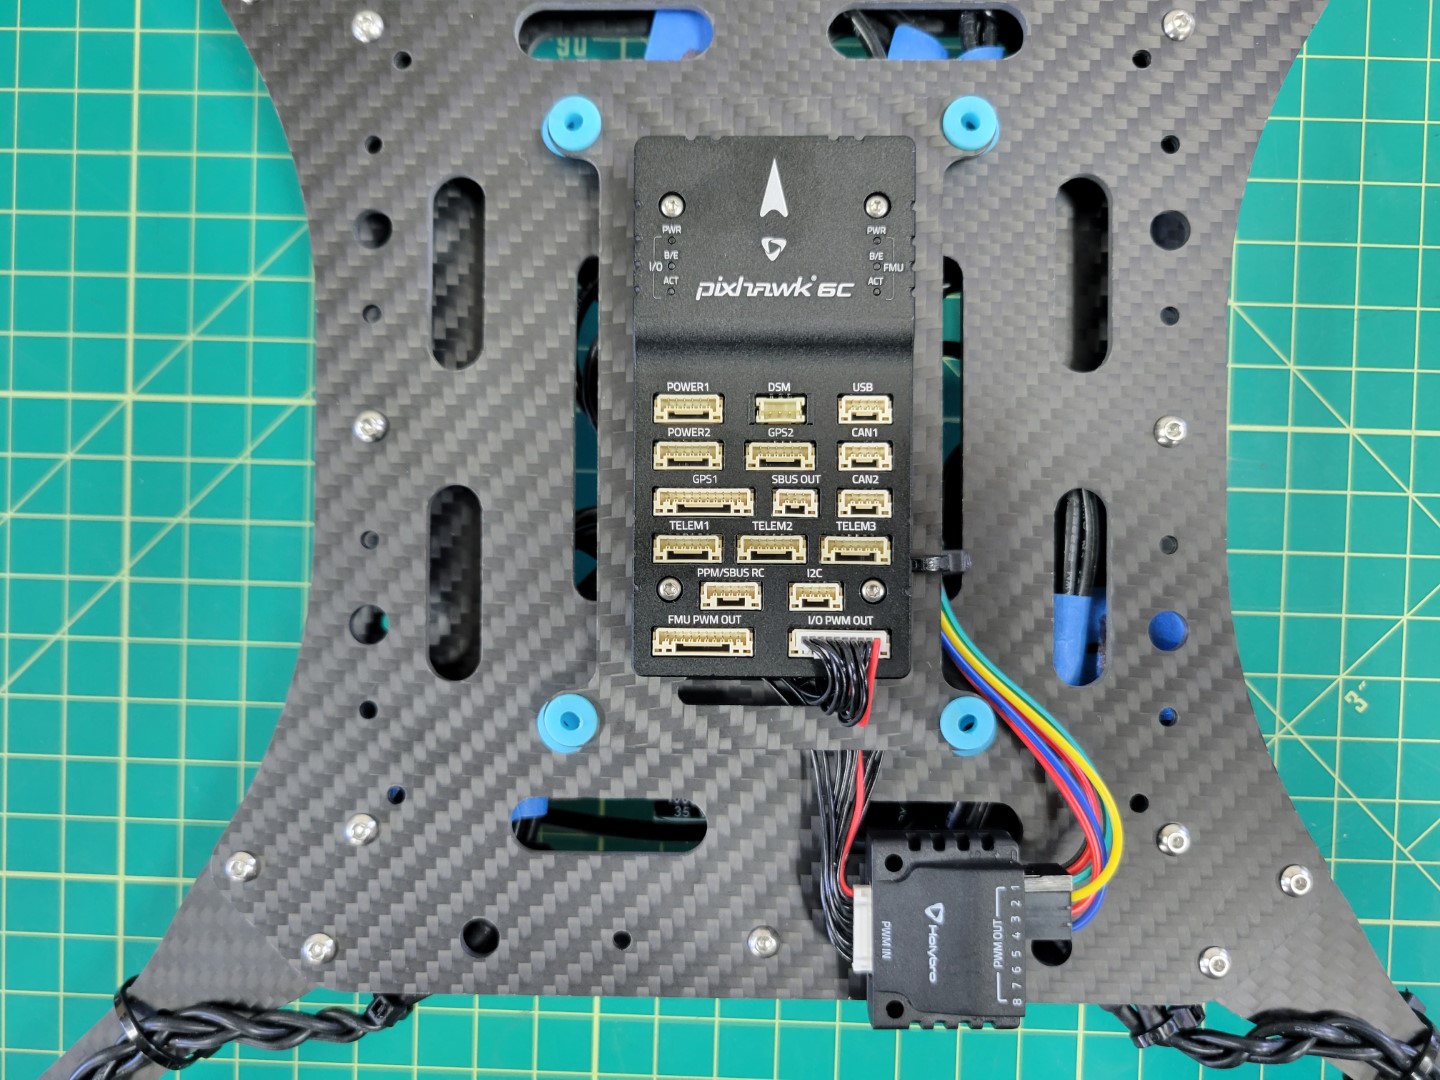
PWM Module mounted and wired
RX Mounting
The radio receiver (RX) will be mounted next. You can find the RX in the FlySky FS-i6S box. The cable to connect the RX will be in the bag of cables inside the Pixhawk box.
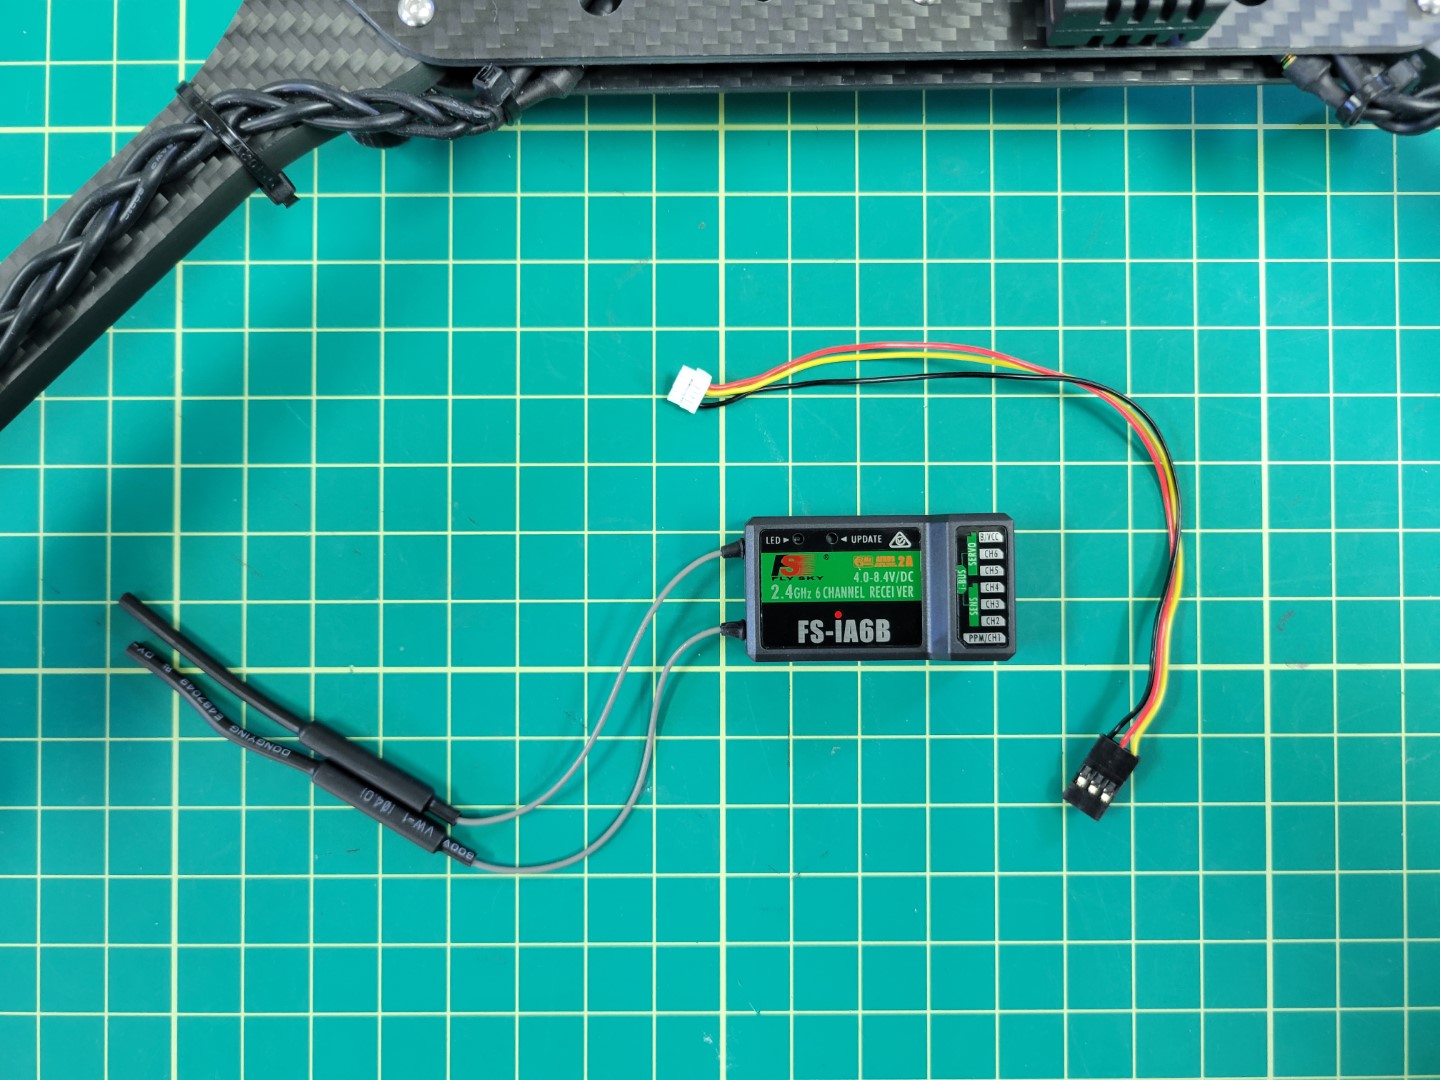
RX module and cable
Mount the RX using 3M tape as shown below. Attach the cable to the PPM/SBUS RC port of the Pixhawk and the other end of the cable to the I-BUS SERVO port of the RX.
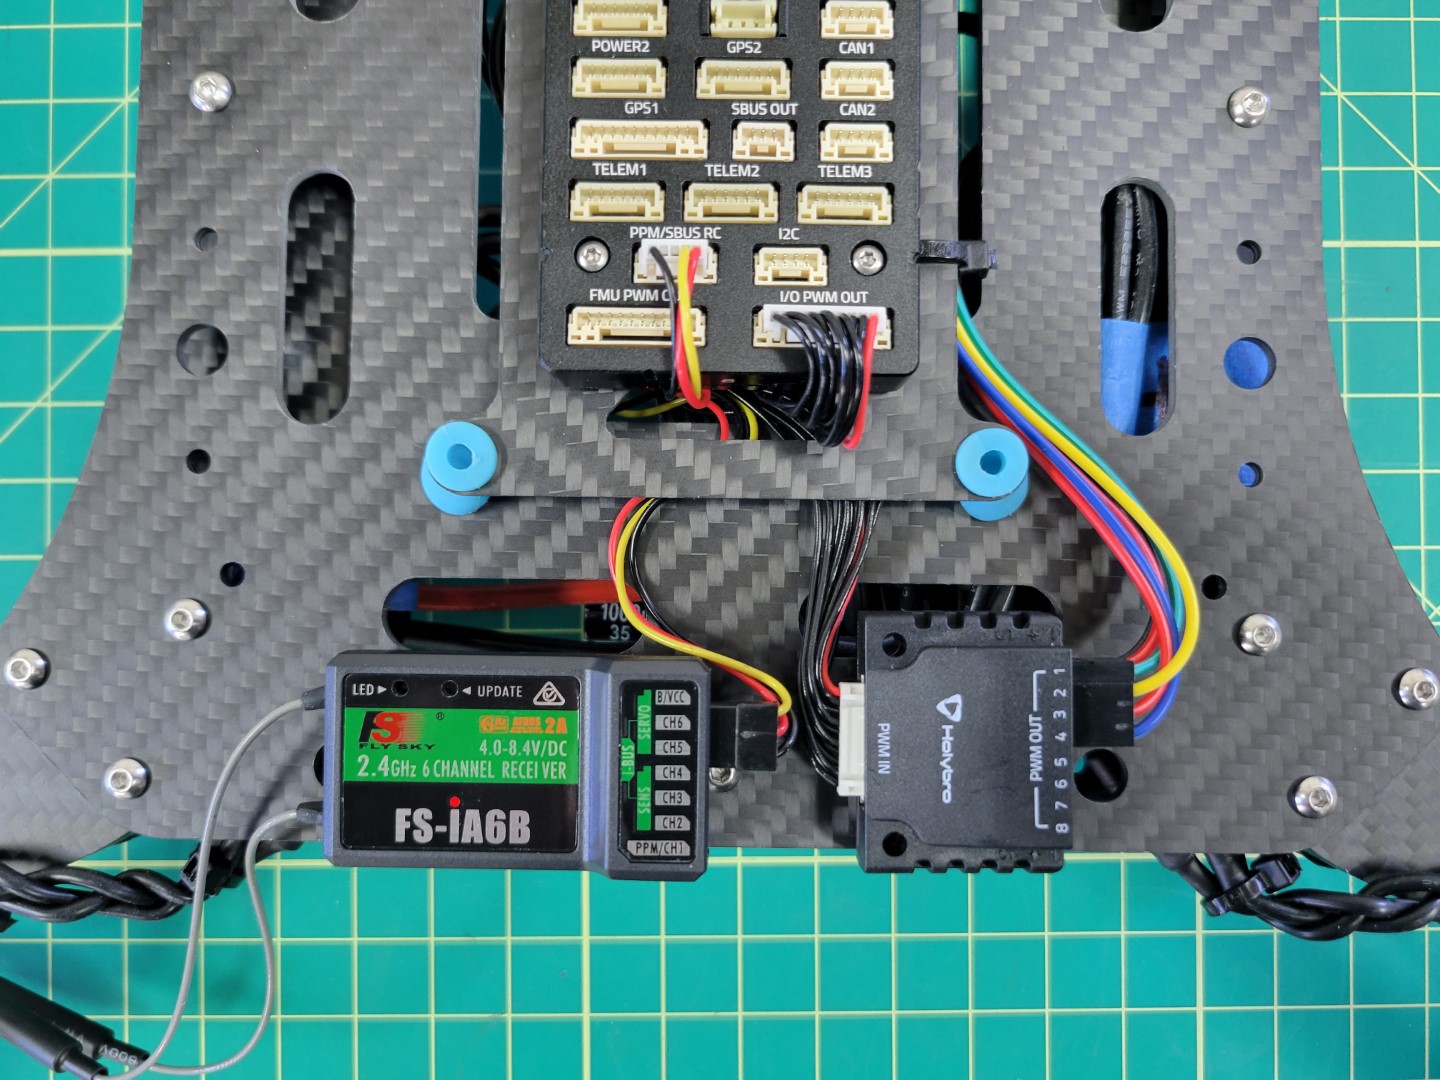
FS-iA6B RX Connected to Pixhawk
Power Module
The Pixhawk Power Module steps down the battery voltage for use by the FC. It also provides voltage and current monitoring. This monitoring will be critical for the AVR competition and will help teams understand the power profile of their drone. Both the power module and cable can be found in the Pixhawk box.
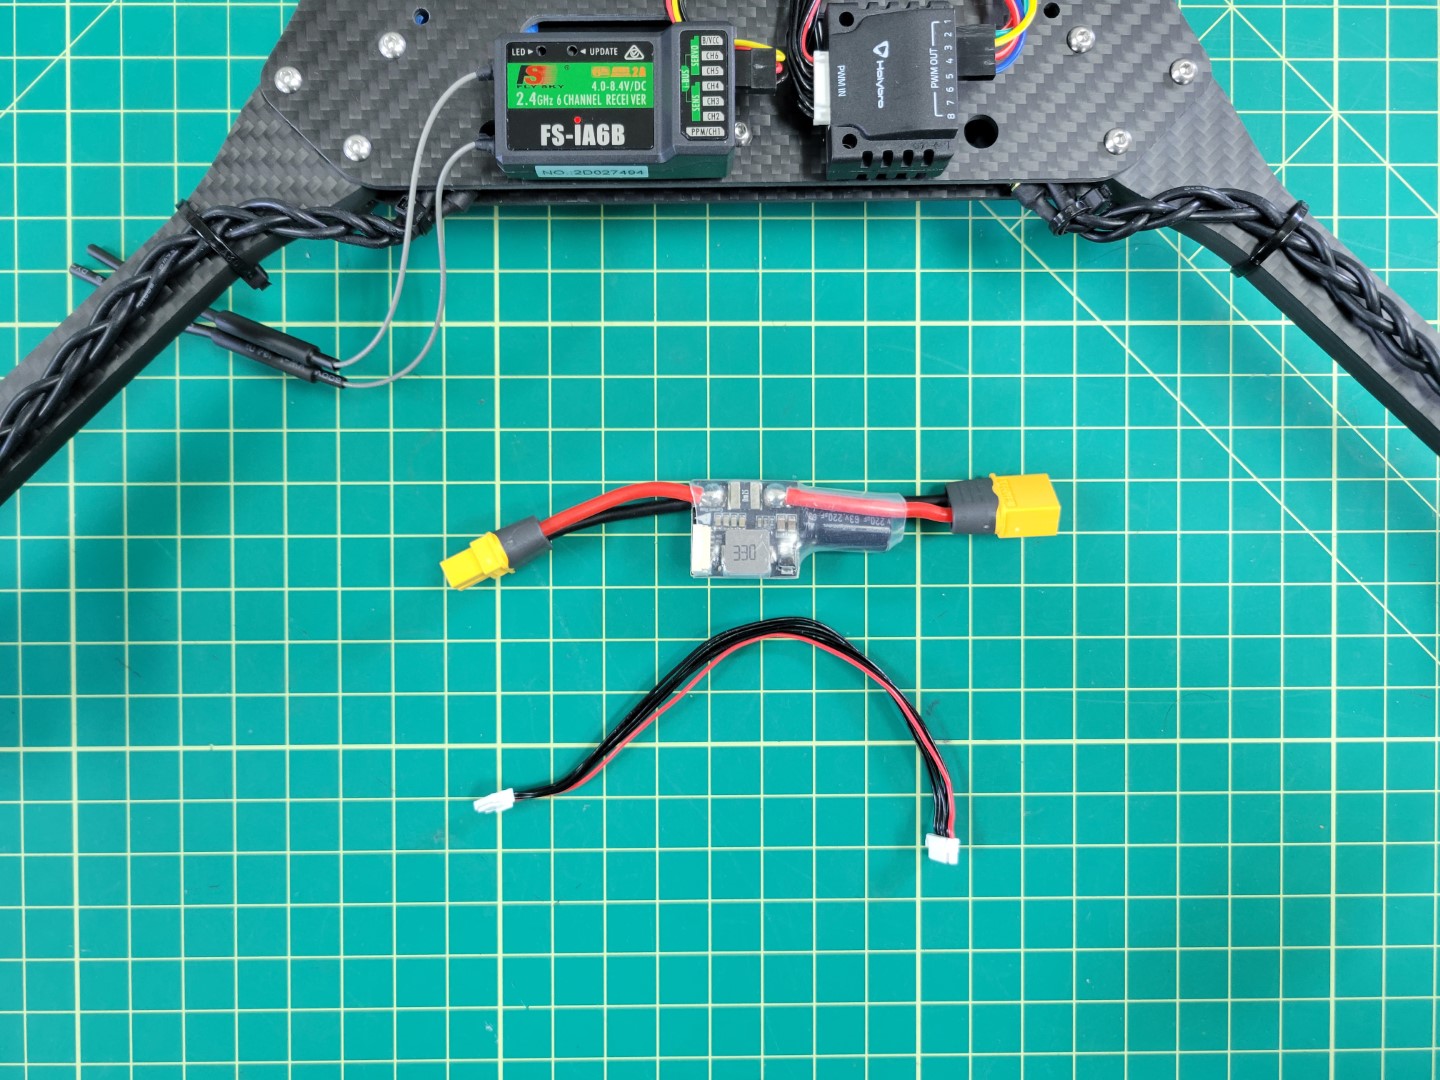
Pixhawk power module and cable
Plug the female XT60 connector of the power module into the male XT60 of the ESC. Then plug the FC cable into the port of the power module as shown in the photo below.
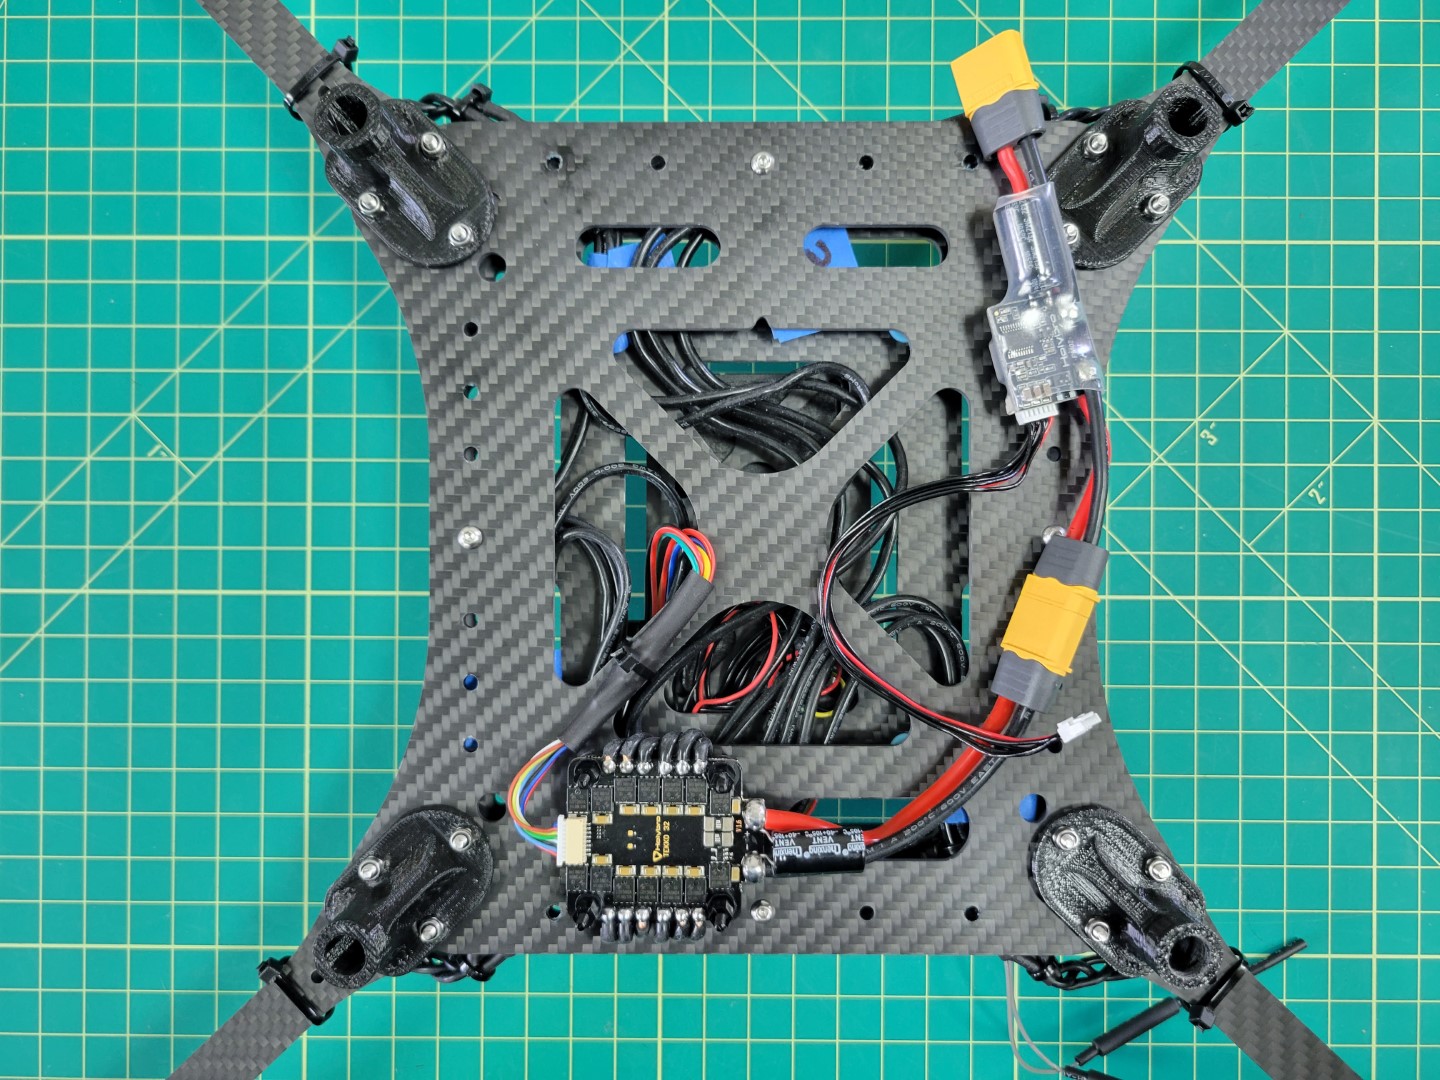
Connecting FC power module to ESC
Feed the power cable from the module to the top of the frame and plug it into the POWER1 port of the Pixhawk.
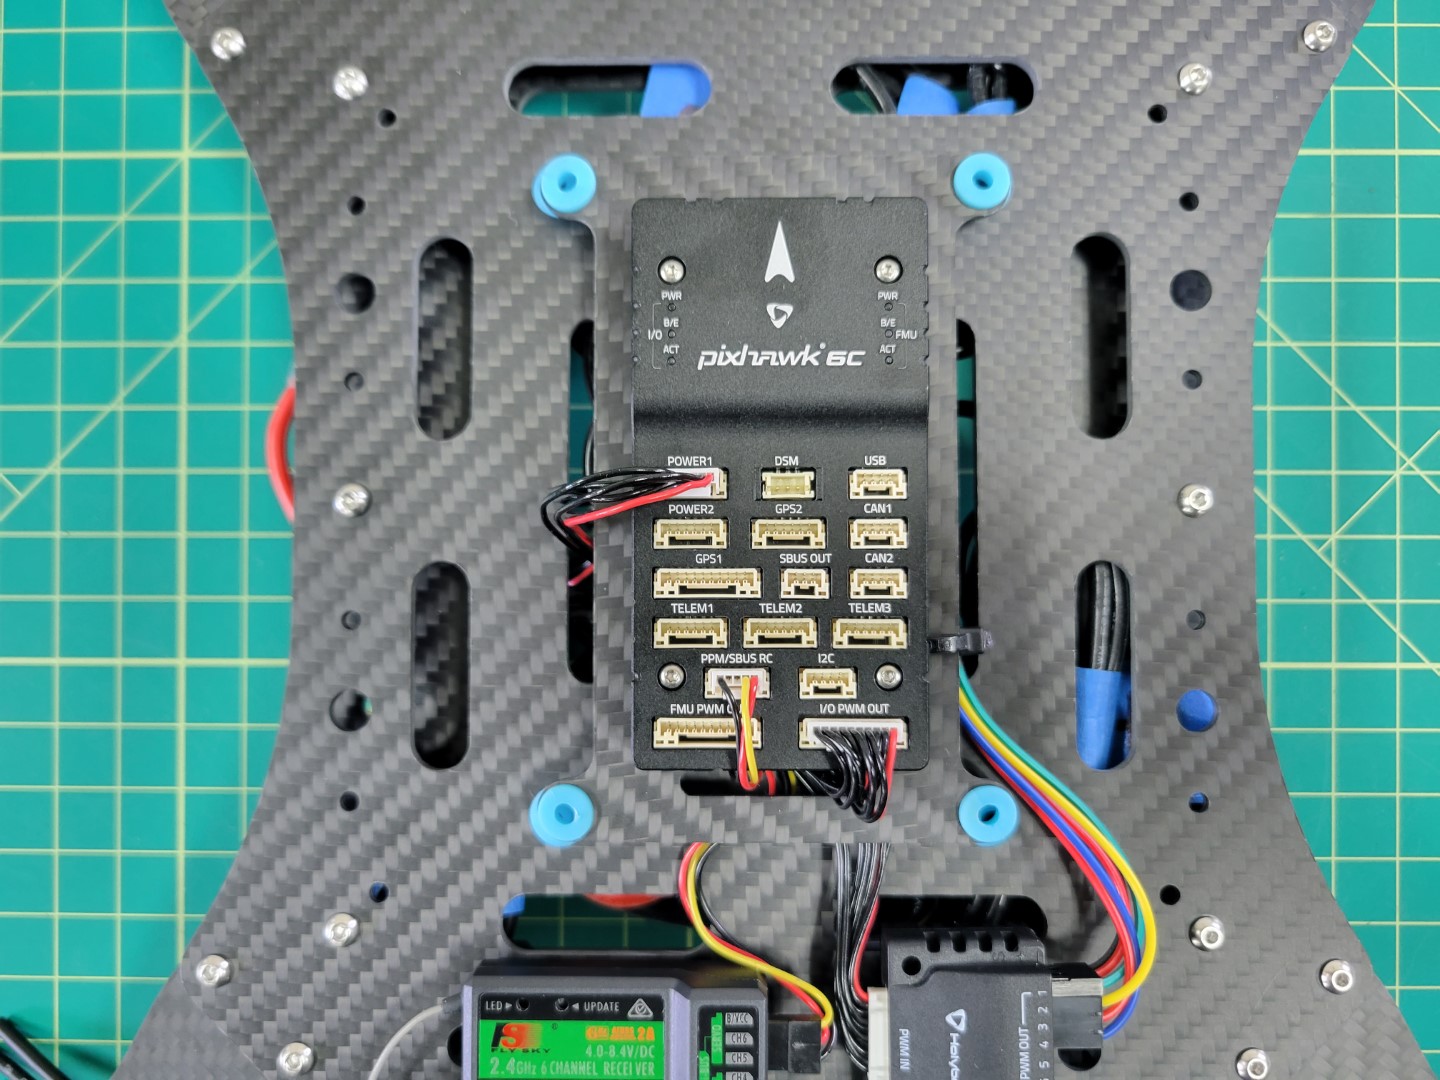
Pixhawk power connection
←Previous Next→