ESC Mounting
This page will explain how to mount the 4-in-1 ESC to the midplate
less than a minute
This section is a complete guide on how to build the Bell AVR drone. It is recommended to read this guide thoroughly and in order. At the bottom of each page, there are navigation buttons that will allow you to proceed to the next section or visit the previous one.
Our goal in this section is to get you to Checkpoint #1: Flight Test, which consists of the ability to manually pilot the drone indoors in a stabilized flight mode.
Below are photos of what your assembled kit will look like before your first flight test.
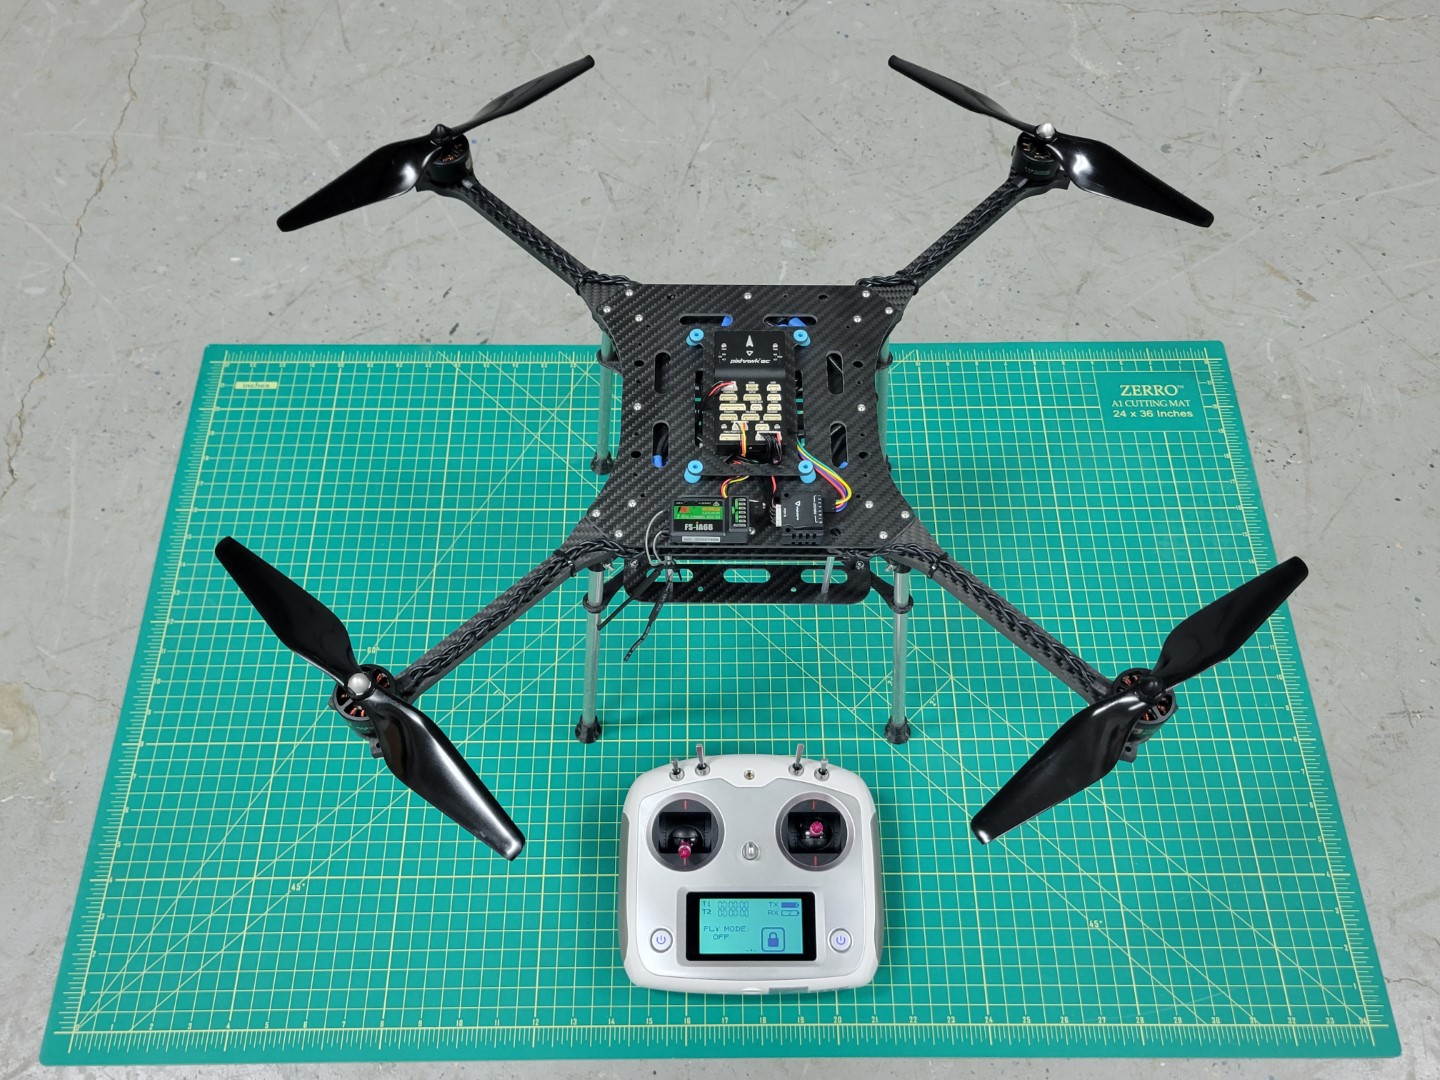
AVR drone ready for first flight
AVR drone right side view
A simple block diagram can be used to represent the components of the basic drone. As you move throughout this documentation keep these details in mind. It will help you gain a high-level understanding of what we’re trying to accomplish.

Block diagram of basic drone components
Let’s get started with assembly!
This page will explain how to mount the 4-in-1 ESC to the midplate
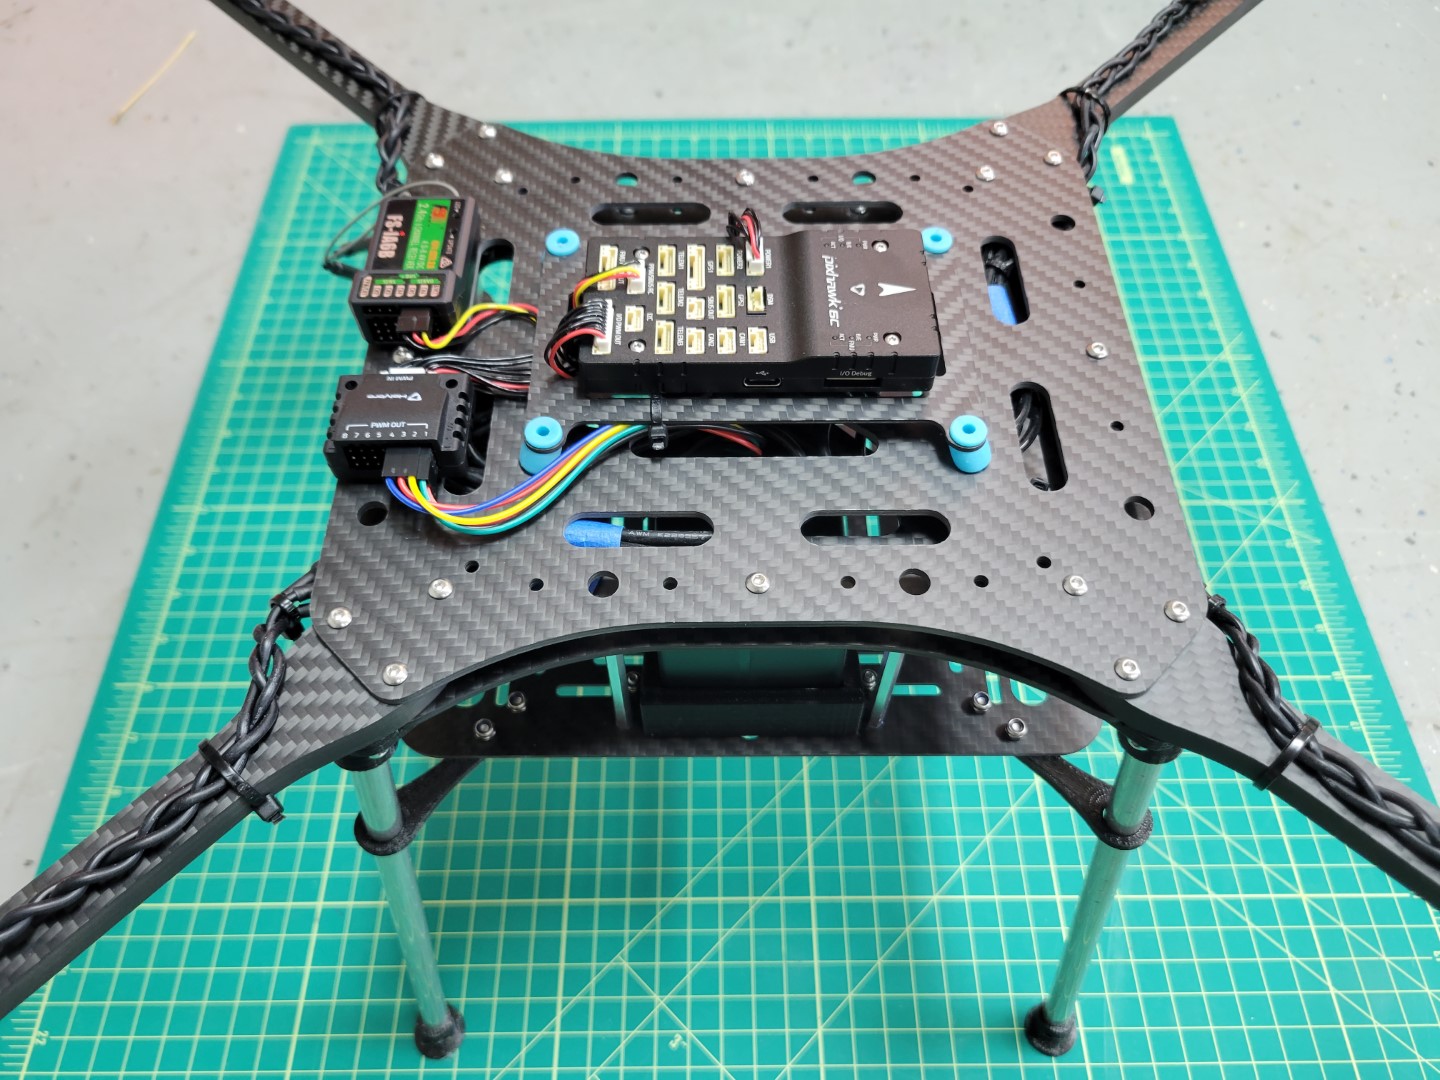
The mid plate assembly is an essential part of the AVR frame. It holds the motor arms, ESC leads, and Pixhawk FC.
In this section we will walk through the process of mounting the drone motors to the arms of the frame
We will walk through creating the FC and ESC cable
We will walk through mounting the FC and connecting the RX and power modules
This page walks through mounting the battery tray and attaching the accessory plate to the AVR frame
This page will guide you through the process of drilling and installing your landing gear
The prop guards will protect your drone should it inadvertently come into contact with the net.